
Introduction to My Anthurium Propagation Journey
I propagated my anthurium by dividing the root ball during repotting. The plant had produced two distinct crowns, and separating them gave me two full plants that both flowered within six months. It’s the kind of win that turns a casual plant owner into a propagator for life. Here’s exactly how to do it.
Why I Love Propagating Anthuriums
There’s something satisfying about coaxing a small cutting into a thriving plant. Each success feels like an accomplishment, and sharing the extras with friends is half the fun. It’s low-cost joy with a high payoff.
The Benefits of Growing Your Own Plants
Growing your own is cheaper than buying and lets you control exactly what you end up with. You also learn the rhythms of plant care in a way no nursery tag ever teaches. The comparison below makes the case plainly:
| Aspect | Growing Your Own | Buying Plants |
|---|---|---|
| Cost | Cost-effective | Higher initial cost |
| Customization | Control over plant selection | Limited to available stock |
| Satisfaction | Personal growth experience | Instant gratification |
| Learning | Opportunity to learn about plant care | No learning involved |
Gathering the Right Tools and Materials
Essential Equipment for Propagation
- Pruning shears for clean cuts on stem cuttings.
- Well-draining potting mix with perlite for drainage.
- Small pots or containers to house the cuttings.
Sterilize those shears first — dirty blades move disease from plant to plant.
Optional Items to Boost Success
- Rooting hormone to stimulate faster root growth.
- A moisture meter to keep the mix moist but not soggy.
Neither is required, but both tilt the odds in your favor. The video below shows the whole process start to finish:
Choosing a Healthy Anthurium for Propagation
Starting with a vigorous mother plant is successful propagation in the first place. Look for deep green leaves and firm stems, and skip anything with soft spots or discoloration. A stressed plant just makes more stressed plants.
Selecting a Vigorous Mother Plant
Healthy anthuriums show lush foliage and sturdy stems with no rot. Keep the mother in bright, indirect light with evenly moist soil before you take anything. A well-cared-for plant gives stronger, faster-rooting cuttings.
How to Propagate Anthurium: Essential Techniques
Stem Cuttings: My Personal Method
- Choose a healthy stem with at least two nodes.
- Cut a 4–6 inch section at a 45-degree angle with clean shears.
- Remove lower leaves, leaving only a few at the top.
- Dip the cut end in rooting hormone to stimulate roots.
- Plant in well-draining soil with the node buried.
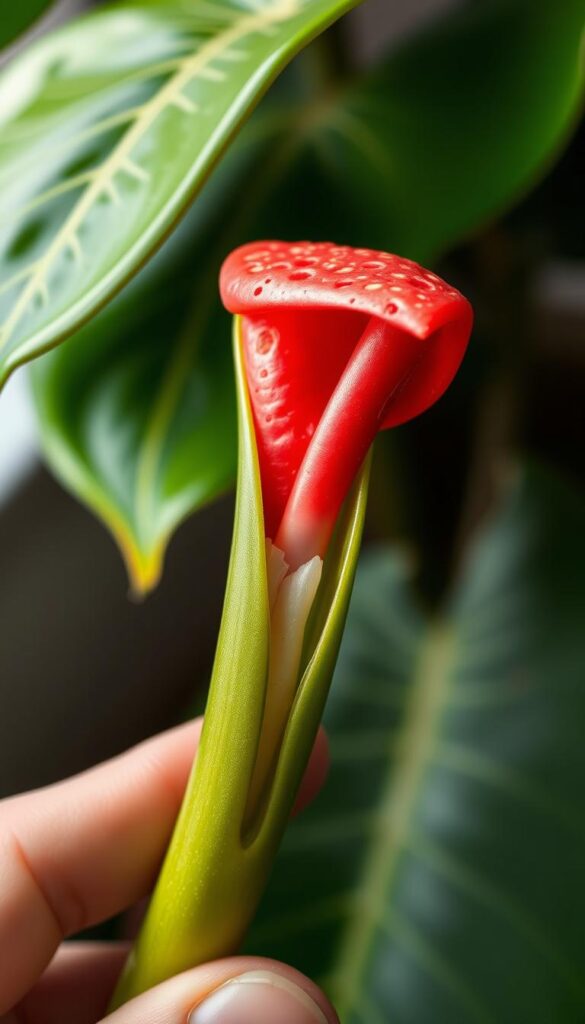
Keep the soil moist but not soggy, and roots should appear in 4–6 weeks. The visual below walks through the cut:
Root Division and Seed Germination Insights
Root division is the easy alternative — gently separate the roots of a pot-bound mature plant and pot each section. Seed germination works too: collect seeds after flowering, sow on moist sphagnum, and keep it humid for 3–6 months. Division is just faster.
Setting Up the Ideal Environment for New Growth
Providing Bright, Indirect Light and Warm Temperatures
Anthuriums want bright, indirect light; direct sun discolors the leaves. Aim for 70–90°F and keep them away from drafts. Stability is what gets you strong roots.
Maintaining Consistent Moisture and Proper Soil
Use a quality tropical potting mix and keep it consistently moist, not waterlogged. These tropical plants love humidity during the rooting phase. The conditions table below is your cheat sheet:
| Factor | Optimal Conditions | Tips |
|---|---|---|
| Light | Bright, indirect light | Place near an east- or west-facing window |
| Temperature | 70°F – 90°F | Avoid drafts and extreme changes |
| Soil | Well-draining potting mix | Check moisture daily |
| Humidity | 50-70% | Use a humidifier if necessary |
Boosting Success with Rooting Hormones and Humidity
The Role of Rooting Hormone in Faster Growth
Rooting hormone is a genuine game-changer — dip the cut end before planting and cuttings often root in just a few weeks. It’s the cheapest insurance you can buy for a new plant.
Creating a High-Humidity Space for New Roots
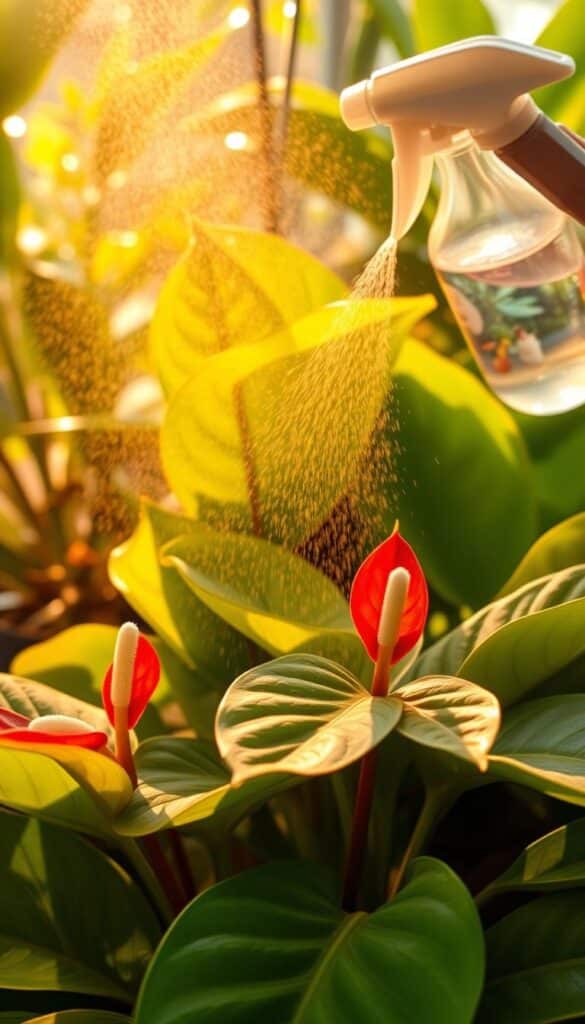
Cover the pot with a clear plastic bag or set it on a humidity tray to lock in moisture. Keep temperatures in the 70–90°F range for the best root development. The image below shows a setup that works:
Troubleshooting Common Propagation Challenges
Preventing Rot and Managing Pests
Fungal rot usually comes from overwatering, so keep the mix draining and the air moving. Watch for spider mites and mealybugs under the leaves and hit them early with neem oil or insecticidal soap. The care table below keeps the basics straight:
| Factor | Optimal Conditions | Tips |
|---|---|---|
| Light | Bright, indirect light | Avoid direct sunlight |
| Water | Moist but not soggy | Check soil daily |
| Soil | Well-draining mix | Add perlite for drainage |
Final Reflections on Expanding Your Anthurium Collection
From that first cutting to a shelf full of blooms, every step was a lesson in patience. Consistent light, water, and soil are the foundation, and the Anthurium hobby rewards the careful. When it’s time to up-pot, my guide to Anthurium repotting picks up right where this leaves off.
Conclusion
Propagate anthuriums by division during repotting, separating crowns with their own roots into fresh orchid mix for the fastest establishment. Give it a shot — within months you could have twice the blooms for free. 🌺