Transforming indoor spaces with stunning plants like the Philodendron Gloriosum is easier than you might think. This rare beauty, with its dramatic, heart-shaped foliage, is a perfect addition to any home or office. Whether you’re a seasoned plant enthusiast or just starting your green journey, this guide is here to help you bring out the best in your Philodendron Gloriosum.
Based on personal experience and trusted research, this guide offers practical advice to keep your plant thriving. Despite its slow growth, the Philodendron Gloriosum is relatively low-maintenance, making it a great choice for busy individuals. With the right tips on light, watering, and soil, you can create an environment where your plant flourishes.
From understanding the ideal lighting conditions to mastering the watering schedule, this guide covers it all. You’ll discover how to propagate your plant and troubleshoot common issues. Whether you’re looking to enhance your current care routine or starting from scratch, this guide provides the insights you need to succeed.
So, let’s dive into the world of Philodendron Gloriosum and explore how you can transform your space with this incredible plant. With the right approach, you’ll be enjoying the beauty of this stunning specimen in no time.
Getting to Know Your Philodendron Gloriosum
Discover the unique charm of the Philodendron Gloriosum, a plant that captivates with its striking appearance and rich history. This stunning houseplant is a true standout, offering a blend of beauty and low-maintenance care.
Plant Overview and Unique Characteristics
The Philodendron Gloriosum is renowned for its large, velvety heart-shaped leaves adorned with striking white or silvery veins. Each new leaf unfurls slowly, taking about a month to fully emerge, making every new growth a delightful surprise. This slow growth pattern makes every leaf a treasured addition to your plant collection.
A Brief History and Native Background
Native to Colombia and other tropical regions, the Philodendron Gloriosum has a fascinating history. It’s often mistaken for the Crystal Anthurium due to similar leaf patterns, but its thicker, velvety leaves set it apart. Understanding its origins helps in providing the right environment for it to thrive.
| Feature | Philodendron Gloriosum | Crystal Anthurium |
|---|---|---|
| Leaf Texture | Velvety | Waxy |
| Vein Color | White/Silver | Green |
| Growth Rate | Slow | Medium |
What makes the Philodendron Gloriosum special is its unique character. Its slow growth and beautiful leaves make it a rewarding houseplant. Every new leaf is a highlight, and its adaptability ensures it thrives in various indoor settings.
Designing the Ideal Indoor Environment
Creating the perfect indoor environment for your plant is crucial for its health and beauty. By focusing on the right conditions, you can help it thrive in your home or office.
Light Requirements and Window Placement
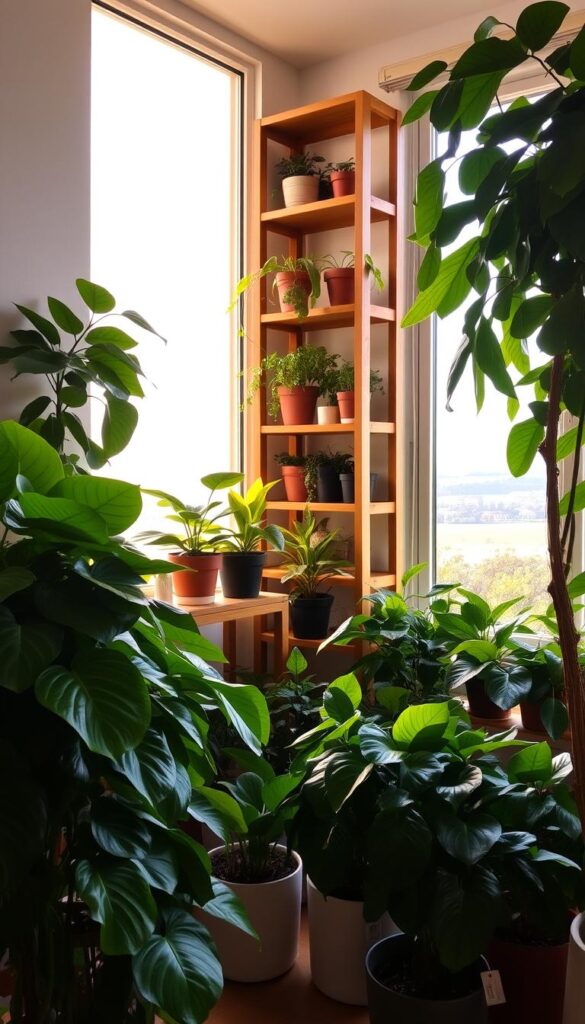
Light is one of the most important factors. Place your plant near a large window with bright, indirect light. Direct sunlight can be too harsh and may cause the leaves to become discolored. East- or west-facing windows are ideal for providing gentle, indirect light throughout the day.
When choosing the right spot, consider the amount of light your room receives. If your space lacks natural light, you can supplement with grow lights. However, avoid placing the plant in dark corners, as insufficient light can slow growth and affect leaf color.
Humidity, Temperature, and Airflow Essentials
Humidity is another key factor. This plant thrives in humid environments, typically between 50-70% humidity. You can increase humidity around your plant using a few simple methods:
- Misting the leaves with water daily
- Placing the plant on a tray filled with water and pebbles
- Using a humidifier
Maintaining the right temperature is also important. Keep your plant in an area with a consistent temperature between 65°F-75°F (18°C-24°C). Avoid placing it near heating or cooling vents, fireplaces, or drafty windows, as sudden temperature changes can stress the plant.
Good airflow is essential for healthy growth. Ensure there is adequate air circulation around the plant to prevent fungal diseases. Keep it at least 3-4 feet away from any walls or other plants to allow air to circulate freely.
| Factor | Optimal Range | Recommended Methods |
|---|---|---|
| Light | Bright, indirect light | East- or west-facing windows, grow lights |
| Humidity | 50-70% | Misting, pebble trays, humidifiers |
| Temperature | 65°F-75°F (18°C-24°C) | Avoid drafts and extreme changes |
| Airflow | Good circulation | Keep 3-4 feet from walls/other plants |
By carefully managing light, humidity, temperature, and airflow, you can create an environment where your plant will flourish. These small adjustments can make a big difference in its health and appearance.
philodendron gloriosum care guide: Essential Nutrient and Soil Preparation
When it comes to nurturing your plant, the soil it grows in is just as important as the light and water it receives. The right potting mix can make all the difference in root health and overall vitality.
Choosing the Right Potting Mix for Root Health
A high-quality potting mix is essential to prevent root rot and ensure proper drainage. I recommend a DIY mix using perlite, orchid bark, or coconut coir. These ingredients provide the necessary oxygen and drainage for healthy root development.
Here’s how I prepare my soil mix:
- Combine 50% coconut coir for moisture retention.
- Add 30% perlite for improved drainage.
- Incorporate 20% orchid bark for structure and organic matter.
Mixing these components creates a well-balanced potting mix that supports root health and prevents waterlogging.
| Component | Percentage | Benefits |
|---|---|---|
| Coconut Coir | 50% | Retains moisture, improves soil structure |
| Perlite | 30% | Enhances drainage, prevents waterlogging |
| Orchid Bark | 20% | Provides organic matter, improves aeration |
From my experience, repotting with this mix has significantly improved my plant’s vitality. The roots are healthier, and the plant grows more vigorously.
Watering Your Philodendron Gloriosum: My Personal Approach
Watering is one of the most critical aspects of keeping your plant healthy and thriving. Over the years, I’ve developed a routine that ensures my plant gets just the right amount of moisture without risking root rot.
How Often and How Much to Water
I water my plant once or twice a week, depending on the season. During spring and summer, when it’s actively growing, I tend to water it more frequently. In fall and winter, I reduce the frequency to once every 10-14 days. The key is to check the soil moisture by gently digging your finger into the top inch of soil. If it feels dry, it’s time to water.
Recognizing Overwatering and Underwatering Signs
Overwatering is a common mistake that can lead to root rot. If you notice yellowing leaves or a soft, mushy stem, it’s a sign you’re giving your plant too much water. On the other hand, if the leaves droop and the soil feels parched, it’s time to water. Striking this balance is crucial for healthy growth.
To ensure proper drainage, I always use a potting mix with perlite or coconut coir. This helps prevent water from pooling at the bottom of the pot, which can lead to root rot. By following these simple steps, you can create a watering routine that keeps your plant robust and vibrant all year round.
Pruning and Propagating for Lush Growth
Pruning and propagating are essential steps to keep your plant healthy and thriving. These practices not only maintain the plant’s appearance but also encourage new growth and help you share this beauty with others.
Effective Pruning Techniques to Encourage New Growth
Pruning is a simple yet effective way to revitalize your plant. I recommend pruning during the spring and summer months when the plant is actively growing. Remove any dry or yellowing leaves, as they can hinder new growth. Use clean, sharp tools to prevent spreading any potential infections.
Another key technique is trimming back leggy stems. This helps maintain the plant’s shape and encourages new nodes to sprout, leading to a fuller appearance. By focusing on these areas, you can keep your plant looking its best.
Step-by-Step Guide to Propagation
Propagation is a rewarding process that allows you to share your plant with others. Start by selecting a healthy stem with at least two nodes. Cut a section that’s 4-6 inches long, ensuring the node is intact, as this is where roots will develop.
Place the cutting in a glass of water or directly into a well-draining potting mix. If using water, change it every few days to prevent bacteria growth. Roots should start to develop within 1-2 weeks. Once roots are visible, transfer the cutting to soil, keeping it moist but not waterlogged.
As a grower, I’ve found that maintaining high humidity and warm temperatures (around 75°F) significantly improves propagation success. Within 3-4 weeks, you should see new growth, indicating the propagation was successful.
| Step | Action | Time Frame |
|---|---|---|
| 1 | Select and cut a healthy stem with nodes | Immediate |
| 2 | Root the cutting in water or soil | 1-2 weeks |
| 3 | Transfer to soil once roots develop | 2-3 weeks |
| 4 | Monitor for new growth | 3-4 weeks |
Regular pruning and propagation not only keep your plant lush but also allow you to enjoy its beauty in multiple locations. By following these steps, you’ll be able to maintain a healthy, thriving plant and share it with others.
Troubleshooting Common Care Challenges
Every plant parent encounters issues now and then. Whether it’s yellowing leaves or pesky pests, these challenges can seem daunting. But with the right approach, you can tackle them effectively and help your plant thrive.
Managing Yellow Leaves, Root Rot, and Other Issues
One of the most common problems is yellowing leaves. This is often a sign of overwatering, which can lead to root rot. If you notice soft, mushy roots, it’s time to act. I address root rot by gently removing the plant from its pot, trimming affected roots with sterile tools, and repotting it in fresh, well-draining soil. This method has helped me nurse my plants back to health time and time again.
| Problem | Sign | Solution |
|---|---|---|
| Root Rot | Yellow leaves, soft roots | Repot with fresh soil, reduce watering |
| Underwatering | Wilting leaves | Increase watering frequency |
| Overwatering | Waterlogged soil | Allow soil to dry between waterings |
Natural Pest Control Methods
Pests like mealybugs and aphids can be a nuisance. My go-to solution is a natural remedy: neem oil. Mix neem oil with water according to the product’s instructions and spray it on the affected areas. This gentle yet effective method keeps pests at bay without harming your plant.
Regular inspections and maintaining a clean environment are key to preventing infestations. By staying vigilant and using natural remedies, you can protect your plant from pests and ensure its continued health.
Extra Tips for Optimal Houseplant Care
Keeping your houseplant happy and thriving goes beyond the basics. I’ve learned a few extra tips that make a big difference in your plant’s health and appearance.
Seasonal Adjustments and DIY Humidity Tricks
Adapting your care routine to the seasons can significantly boost your plant’s growth. During spring and summer, I increase watering and fertilization to support active growth. In the colder months, I scale back to once every 10-14 days and reduce fertilization to give my plant a rest.
Humidity is another key factor. I use a simple DIY trick: placing the pot on a tray with water and pebbles. As the water evaporates, it creates a humid microclimate around the plant. Grouping plants together also helps maintain humidity, as they release moisture through transpiration.
Observing your plant’s cues is crucial. If leaves droop, it might need water. If they turn yellow, it’s likely overwatered. These small adjustments can make a big difference in overall health and vitality.
By implementing these tips, you can create an environment where your houseplant flourishes. It’s all about paying attention to the little things and making adjustments that show you care.
Final Thoughts on Nurturing a Thriving Gloriosum
As you embark on your journey to nurture a thriving Philodendron Gloriosum, remember that it’s all about balance and attention to detail. By tailoring your care routine to your environment, you can create a haven where your plant flourishes.
Pay close attention to pot size and placement. Ensure it’s not too close to direct sunlight, as this can cause leaf discoloration. Experiment with light settings and watering frequency, and don’t hesitate to adjust based on what your plant tells you through its leaves.
Small adjustments, like tweaking humidity levels or repotting, can make a significant difference. Trust the process, and enjoy the journey of watching your Philodendron Gloriosum grow into a stunning specimen. Share your experiences and the joy of nurturing this incredible plant!