Have you ever wondered how to give your home a touch of greenery without much hassle? Spider plants are here to save the day! These charming houseplants are not only easy to care for but also fun to propagate. I still remember the first time I noticed those little spider plant babies dangling from the mother plant—it was like discovering a hidden treasure.
Spider plants have become a favorite among plant enthusiasts, and for good reason. Their trailing plantlets, or spiderettes, make them a stunning addition to any room. Plus, propagation is a breeze, allowing you to expand your plant collection or share the joy with friends and family.
Propagation is essentially the process of creating new plants from existing ones. For spider plants, this often involves those cute little babies that grow on the ends of their stems. It’s a simple yet rewarding process that ensures your plants thrive and multiply. Experts often highlight how resilient spider plants are, making them perfect for both beginners and seasoned gardeners.
By learning how to plant spider plant babies, you’re not only enhancing your space but also gaining a deeper connection with nature. So, let’s dive into the world of spider plants and uncover the secrets to nurturing these beautiful, low-maintenance companions.
Understanding Spider Plant Propagation
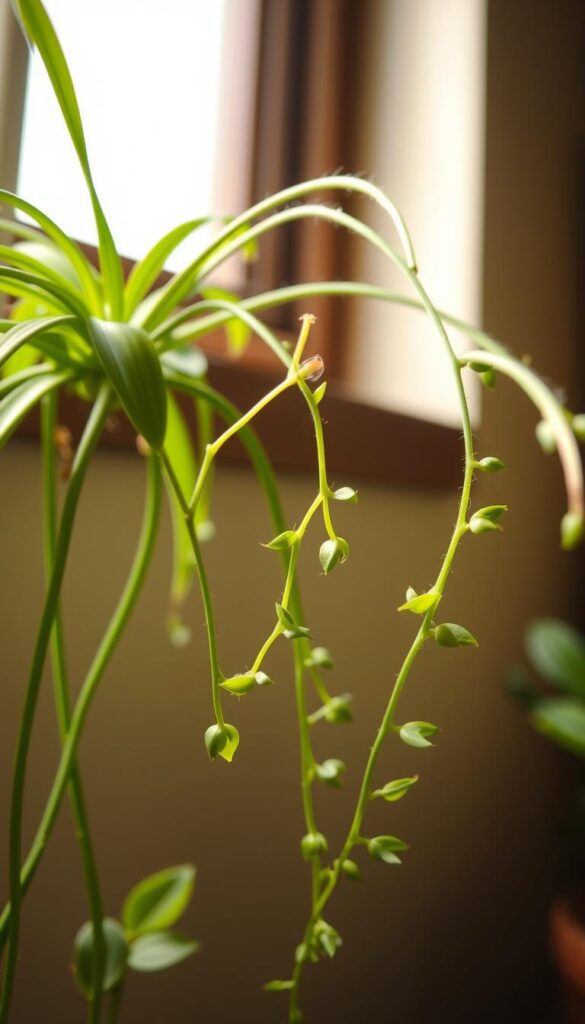
Propagation is a natural process where plants produce offspring, and spider plants are masters at it. They create small plantlets called spiderettes that grow on the ends of stolons, which are long stems that connect the baby plants to the parent. These spiderettes are perfect for starting new plants, making propagation both easy and rewarding.
The Benefits of Propagation
Propagating spider plants offers several advantages. It allows you to expand your collection quickly and share plants with friends. Additionally, removing the babies from the parent plant can relieve it from the burden of supporting multiple growths, promoting healthier development.
When and Why to Propagate
Spring and summer are the ideal seasons for propagation, as active growth during these times ensures faster and healthier results. Even though leaving some babies attached can be enjoyable, proper timing and technique significantly improve success rates. Propagation not only multiplies your plants but also enhances the overall health of the parent plant.
| Method | Pros | Best Time |
|---|---|---|
| Water | Quick roots, easy to monitor | Spring/Summer |
| Soil | Direct planting, stable environment | Spring/Summer |
Preparing Your Spider Plant and Environment
Before you start propagating, it’s important to get everything ready. This ensures your spider plant babies have the best chance to grow.
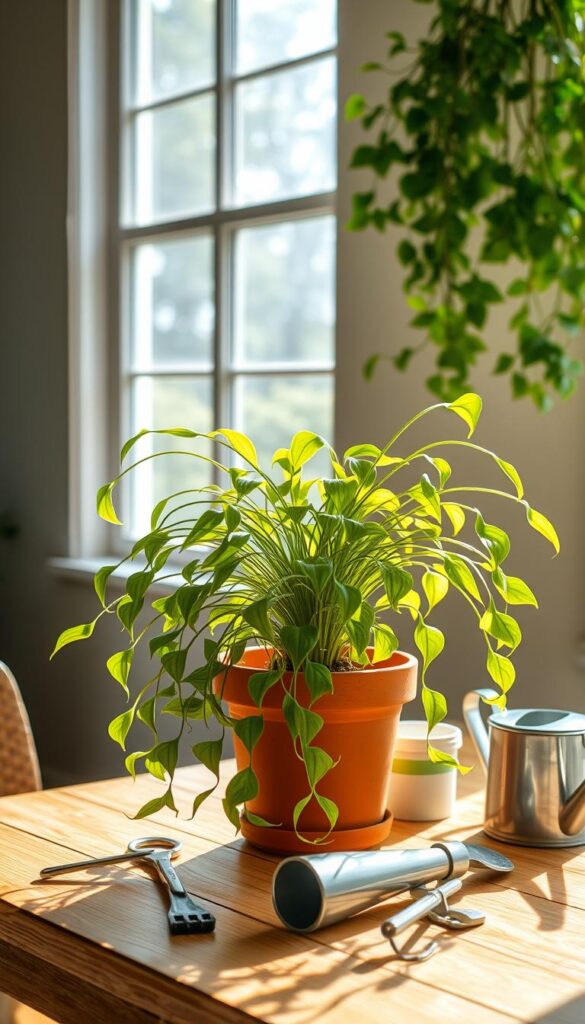
Gathering Necessary Tools and Supplies
To get started, you’ll need a few simple supplies. A good quality soilless mix is essential for healthy root development. Choose small pots or containers with drainage holes to prevent water from pooling. Sanitized scissors or clippers are a must to avoid spreading any diseases. You might also want a pencil or dibber to create holes in the soil for the new plants.
Setting Up a Proper Propagation Area
Where you place your propagation setup matters. Bright, indirect light is ideal for spider plants. Make sure the area has good drainage and maintains consistent moisture without being soggy. Keeping the soil evenly moist but not waterlogged is key to successful propagation.
| Tool/Supply | Purpose | Best Practice |
|---|---|---|
| Soilless Mix | Prevents waterlogging | Use a well-draining mix |
| Small Pots | Provides space for roots | Ensure drainage holes |
| Sanitized Clippers | Cuts plantlets cleanly | Prevents disease spread |
| Pencil/Dibber | Creates soil holes | Makes planting easier |
With your tools and space ready, you’re all set to welcome new spider plant babies into your home. Proper preparation ensures a smooth and successful propagation process.
How to Plant Spider Plant Babies: A Step-by-Step Guide
Now that you’re ready to propagate, let’s break down the process into simple steps. This guide will walk you through removing the spiderettes and choosing the best method for your new plant.
Removing Spiderettes from the Mother Plant
Start by gently snipping the spiderettes from the mother plant. Use clean, sterile tools to cut just below where the roots form. This ensures each baby plant has a good chance of growing strong roots.
Deciding Between Water and Soil Methods
Choose between water and soil based on your preference. The water method is great for monitoring root growth, while soil offers a more stable start.
| Method | Pros | Time to Root |
|---|---|---|
| Water | Easy to monitor, quick roots | 1-2 weeks |
| Soil | Stable environment, direct planting | 2-3 weeks |
For the water method, place the cutting in a glass with water. Roots should grow to 2-3 inches in about two weeks. In soil, create a small hole, gently place the plantlet, and firm the soil around it. After a week or two, tug gently on the plant; if it resists, roots have developed.
Whichever method you choose, your spider plant babies will thrive with proper care. Ensure the soil is moist but not soggy, and provide bright, indirect light. Happy planting!
Exploring Different Propagation Methods
When it comes to propagating spider plants, there are several methods you can try, each with its own set of advantages. Whether you prefer the simplicity of water, the effectiveness of soil, or the uniqueness of a moist paper towel, there’s a method that suits your style. Let’s explore these techniques to find the best fit for your needs.
| Method | Pros | Cons |
|---|---|---|
| Water | Quick root development, easy to monitor | Requires frequent water changes |
| Moist Paper Towel | High success rate, minimal equipment needed | Constant moisture required |
| Soil | Stable environment, direct planting | Slower root development |
Propagation Using Water for Quick Roots
For a quick and straightforward method, water propagation is an excellent choice. Simply place the spiderette in a container of water, ensuring the roots are submerged. Roots typically develop within 1-2 weeks, making this method ideal for those who want to monitor progress. Replace the water every few days to prevent stagnation and promote healthy growth.
Adopting the Moist Paper Towel Technique
The moist paper towel method offers another effective way to propagate spider plants. Place the spiderette on a damp paper towel, ensuring it stays moist but not soaked. Keep it in a warm, bright area and check daily to maintain humidity. Once roots develop, transfer the plantlet to soil. This method is known for its high success rate, especially for those new to propagation.
Each method has its unique benefits, so choose the one that aligns with your preferences and setup. Whether you opt for water, soil, or the moist paper towel technique, with proper care, your spider plant will thrive and grow into a beautiful, healthy plant.
Caring for Your New Spider Plants
Congratulations! Your new spider plant babies are now on their way to becoming thriving, independent plants. Proper care is essential to ensure they grow strong and healthy. Let’s explore the best practices for nurturing your new spider plants.
Watering, Sunlight, and Soil Considerations
Watering is a critical part of spider plant care. Keep the soil consistently moist but not soggy, as this can lead to root rot. A good rule of thumb is to water when the top inch of soil feels dry to the touch. Spider plants also love bright, indirect sunlight. Placing them near a sunny window but out of direct rays will promote healthy growth. Use a well-draining soil mix to prevent water from pooling around the roots.
Tips for Ongoing Nurture and Growth
After the initial propagation, it’s important to maintain a routine. Fertilize your spider plants with a balanced fertilizer once a month to provide essential nutrients. Regularly inspect your plants for signs of stress or pests. Prune any dead or dying leaves to keep your plant healthy and encourage new growth. Repotting may be necessary every year or two as your plant outgrows its container.
| Care Aspect | Recommendation | Frequency |
|---|---|---|
| Watering | Keep soil moist but not soggy | Daily check |
| Sunlight | Bright, indirect light | Continuous |
| Soil | Use well-draining mix | One-time setup |
| Fertilization | Balanced fertilizer | Monthly |
By following these care tips, your spider plants will thrive and bring greenery to your space. Remember, consistency is key to helping your new plants grow strong and healthy.
Troubleshooting Common Propagation Issues
When propagating spider plants, it’s common to encounter a few challenges. Being prepared to address these issues can make a big difference in the success of your plant propagation journey.
Preventing Root Rot and Overwatering
Root rot is one of the most common issues during propagation. It often happens when the soil is too moist, causing the roots to decay. To prevent this, ensure your soil mix drains well and avoid overwatering. Always use clean, sterilized tools when cutting plantlets to minimize the risk of infection.
Proper drainage is key. Make sure your pots have drainage holes to prevent water from pooling at the bottom. If you notice the leaves turning yellow or the plantlet wilting, it might be a sign of overwatering. Let the soil dry slightly between waterings to prevent root rot.
Identifying Signs of a Healthy Plantlet
A healthy plantlet will have firm, green leaves and show signs of new growth within a few weeks. Gently tug on the plant to check if it’s rooted properly—resistance means the roots are developing well.
If you’re using the water method, white roots forming at the base of the cutting are a good sign. Once roots are about 1-2 inches long, it’s time to transfer the plantlet to soil. Avoid potting too early, as this can stress the young plant.
Wrapping Up Your Spider Plant Journey
As we wrap up this journey through the world of spider plant propagation, it’s clear that with a little time and care, anyone can successfully grow these charming plants. From the initial preparation to the final steps of nurturing, every part of the process plays a role in helping your spider plant thrive.
Remember, consistency is key. Keep an eye on soil quality, drainage, and watering routines to ensure your plants stay healthy. Whether you’re using water, soil, or another method, the right approach will help your spiderettes develop strong roots and grow into beautiful new plants.
Don’t hesitate to reach out with any questions or share your own experiences. Happy planting, and enjoy the joy of nurturing your very own spider plant babies!