Snake plants are more than just stylish additions to your home—they’re also incredibly low-maintenance and great at purifying the air. If you’re like me, you’ve probably fallen in love with their resilience and beauty. But have you ever wondered how to share that beauty with others or expand your own collection? That’s where propagation comes in!
From my experience, propagating snake plants can be a rewarding process, especially when done right. I’ve learned that cutting the leaves diagonally (both ways) makes a big difference in preventing rot. It’s all about the technique and keeping those tools sharp and clean. Starting with a healthy parent plant is key, and I’ve found that proper care before and after cutting leads to the best results.
In this guide, I’ll walk you through both water and soil propagation methods. Whether you’re a seasoned plant parent or just starting out, you’ll find these steps easy to follow. By the end of this article, you’ll be confident in your ability to propagate snake plants like a pro!
Understanding Snake Plant Propagation and Its Benefits
Propagating snake plants is a simple yet rewarding process that offers several benefits. Not only does it allow you to share plants with friends, but it also helps create more greenery in your home. I’ve found that propagating my snake plant adds a personal touch to my space, making it feel more vibrant and alive.
Why I Love Propagating My Snake Plant
For me, propagating my snake plant is a labor of love. It’s amazing to see a single leaf grow into a full plant. This process not only enhances the beauty of my home but also gives me a sense of accomplishment. Plus, it’s a great way to share plants with friends and family, spreading the joy of gardening.
Key Benefits and Advantages
One of the main advantages of propagating snake plants is their ability to grow in both water and soil. This flexibility makes the process accessible to everyone, regardless of their experience level. However, common pitfalls like rot can occur if not done properly. Understanding the right techniques and maintaining proper watering routines can significantly optimize success.
| Method | Success Rate | Challenges |
|---|---|---|
| Water Propagation | High | Root rot if overwatered |
| Soil Propagation | Moderate | Slow root development |
By following expert tips and maintaining the right conditions, you can successfully propagate your snake plant. This process not only enhances your home’s beauty but also contributes to a healthier environment.
Essential Tools and Preparation for a Successful Start
Starting your propagation journey begins with the right tools and a bit of preparation. Whether you’re using the water method or soil method, having everything ready ensures a smooth process.
Choosing the Right Tools: Pruners, Jars, and More
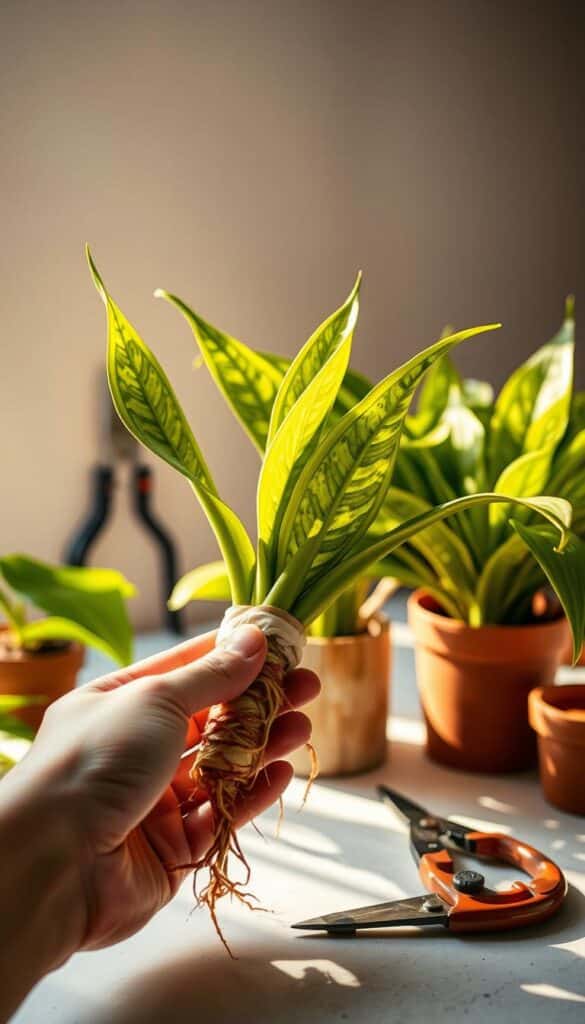
A sharp, clean pair of pruners or scissors is your best friend. These tools help prevent rot by making clean cuts. For water propagation, a clear jar lets you monitor root growth. A well-draining potting mix is a must for soil propagation to avoid waterlogged soil.
Picking a Healthy Snake Plant for Propagation
Choose a robust, pest-free plant with bright leaves. Avoid any showing signs of rot. Healthy plants yield better results and faster growth.
| Tool | Purpose | Method |
|---|---|---|
| Pruners/Scissors | Clean cuts | Both |
| Jar/Vase | Water propagation | Water |
| Potting Mix | Drainage | Soil |
Set up a bright, indirect light spot for propagation. Proper preparation and tools boost success rates, with results in a few months. Experts agree these steps are key to thriving plants.
How to Propagate Snake Plant: Step-by-Step Methods
Propagating snake plants can be an exciting journey, especially when you see new growth emerge. I’ve found that understanding the process and choosing the right method makes all the difference. Whether you prefer water or soil, each has its unique benefits and challenges.
Water Propagation: Process and Best Practices
Water propagation is a popular choice because it allows you to watch your roots develop. Start by cutting the leaves diagonally and place them in a clear jar. Change the water regularly to prevent rot. This method offers a clear view of root growth, making it easier to monitor progress. I’ve noticed that maintaining clean water and indirect light significantly boosts success rates.
Soil Propagation: Tips for Preventing Root Rot
For soil propagation, select a well-draining mix to avoid waterlogging. Cut the leaves diagonally and plant them in the soil. Keep the mix moist but not soggy. Root rot is a common issue, so ensure good drainage. This method is great for those who prefer a more traditional approach, but it requires patience as roots develop slowly.
| Method | Time | Light Needs | Success Rate |
|---|---|---|---|
| Water | 1-2 months | Bright, indirect | High |
| Soil | 2-3 months | Medium, indirect | Medium |
Both methods have their advantages. Water propagation offers visibility, while soil propagation mimics natural growth. Choose the way that fits your comfort level and environment. With proper care, you’ll enjoy your new snake plant in no time!
Optimizing Your Propagation Process with Troubleshooting Tips
As you embark on your journey to grow a new snake plant, it’s important to anticipate and address common challenges. Proper care and attention can make a significant difference in the success of your propagation efforts. Below, I’ll share some practical advice to help you avoid pitfalls and ensure your new plant thrives.
Avoiding Common Pitfalls and Root Rot
Root rot is one of the most frequent issues during propagation. To prevent this, ensure your cuttings aren’t overwatered. If you notice soft, mushy leaves, it’s a sign of root rot. immediately remove the affected areas with clean tools and adjust your watering schedule.
Another common issue is slow growth. This can be due to insufficient light or improper temperature conditions. Most snake plants prefer bright, indirect light and temperatures between 65-75°F (18-24°C) for optimal growth.
Maintaining the Right Light, Temperature, and Water Conditions
Light plays a crucial role in the development of your new plant. Place your propagation setup in a spot with consistent, indirect light. Direct sunlight can cause the water to become murky, leading to rot. For soil propagation, maintain a moist but not soggy environment to promote healthy root development.
Temperature control is equally important. Avoid placing your cuttings near drafty windows or extreme heat sources, as this can stress the plant and slow down growth.
My Personal Strategies for Success
From my experience, maintaining a clean environment is key. I always use sterilized tools to make cuts and change the water in my propagation jars every few days. I also monitor the light exposure carefully, ensuring it’s consistent but not excessive.
One strategy that has worked well for me is to keep the propagation area slightly shaded during the hottest parts of the day. This prevents the water from heating up too much and reduces the risk of rot.
By following these tips, you can overcome common challenges and successfully grow a new snake plant. Remember, patience is key, and with the right conditions, your efforts will pay off. Don’t hesitate to share your experiences and tips with others in the plant-growing community—we all learn and grow together!
Exploring Alternative Techniques: Division and Seed Propagation
While leaf cutting is a popular method, exploring alternative techniques can expand your propagation toolkit. Division and seed propagation offer unique benefits and challenges, providing more options for growing your houseplant collection.
Propagating by Division: Quick and Effective
Dividing an established snake plant is a fast way to generate new plants. This method involves separating clumps with healthy roots and rhizomes. It’s ideal for mature plants that have outgrown their pots. Simply split the roots gently, ensuring each section has healthy growth. This technique offers quick results, often producing new plants within weeks.
Trying Seed Propagation: A Patient Approach
Seed propagation is another method, though it requires more patience. While it’s less common due to lower success rates, it can be rewarding. Sow seeds in well-draining soil under bright, indirect sunlight. Maintain consistent moisture and temperatures between 65-75°F (18-24°C). Germination can take weeks to months, but it’s a great way to share plants with others.
| Method | Success Rate | Challenges | Conditions |
|---|---|---|---|
| Division | High | Requires mature plants | Bright, indirect sunlight; proper drainage |
| Seed | Low-Moderate | Slow germination; lower success rate | Consistent temperature; well-draining soil |
Both methods offer unique advantages. Division provides quick results, while seed propagation allows for genetic diversity. By understanding these techniques, you can choose the best approach for your needs, expanding your houseplant collection with ease.
Final Reflections and Next Steps for Your Growing Collection
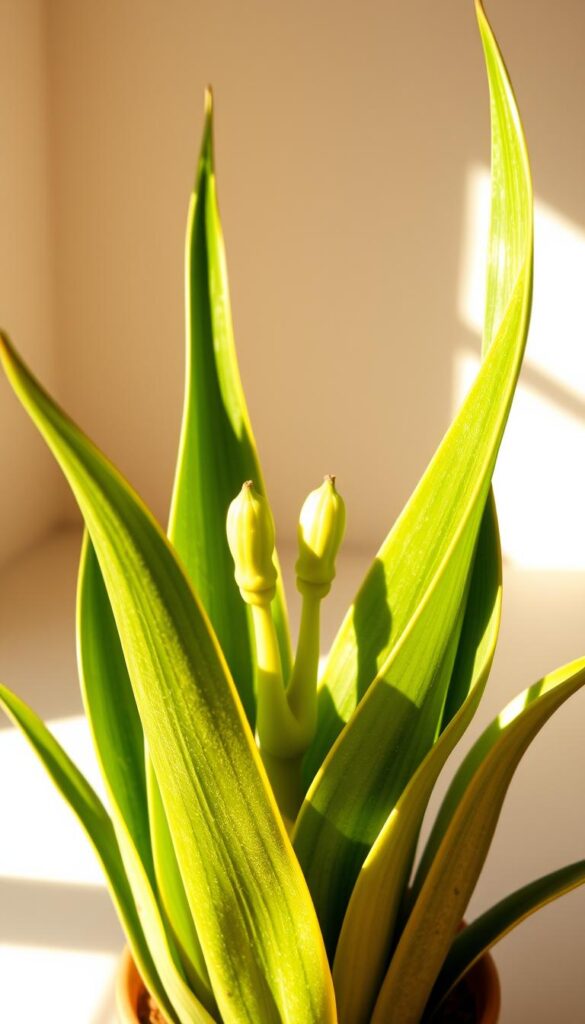
Reflecting on my journey with snake plants, I’ve found the process incredibly rewarding. Seeing cuttings grow into thriving plants is a true delight. Now, it’s time to take the next steps and give your rooted cuttings a new home.
When transplanting, choose small pots with a drainage hole to prevent waterlogging. Adding a rooting hormone can boost root development. Before potting, always check the bottom of the plant for healthy roots.
Find a spot with bright, indirect light and stable temperatures to minimize risk. Proper care will help your garden flourish. With patience, your snake plant collection will grow, bringing beauty and freshness to your space. Enjoy the journey and watch your plants thrive!