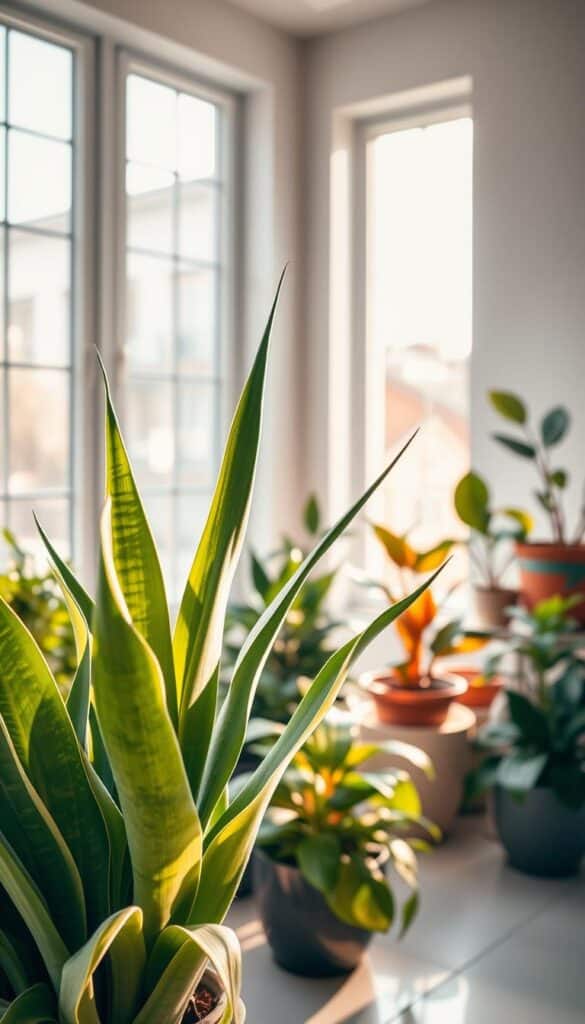
Snake plants are widely admired for their easy care and adaptability to low-light conditions. Experts like Daniel Cunningham and Marc Hachadourian note that repotting in spring when the plant awakens from dormancy is ideal. Fresh soil mixes such as cactus or succulent potting soil with perlite can help your snake plant thrive.
Repotting your snake plant offers fresh nutrients and room for growth. Snake plants are popular houseplants celebrated for being low-maintenance. Using a well-draining soil mix and choosing the right pot can make all the difference. Repotting during spring is the best time for a fresh start and optimal health.
The garden and nature aspects of repotting will be emphasized to inspire confidence. I assure readers that repotting is straightforward if you follow expert advice. I have learned valuable tips from horticulturists and reputable sources to help you through the process.
- Repotting your snake plant provides fresh nutrients and space for growth.
- The ideal time to repot is during spring for optimal health.
- Use a well-draining soil mix, such as cactus or succulent potting soil with perlite.
Understanding Your Snake Plant’s Needs
Snake plants, known for their resilience, thrive in various conditions but still have specific requirements. Observing your plant closely helps determine when it needs attention.
Recognizing Growth and Signs for Repotting
A snake plant often signals it’s ready for a new pot when roots emerge from drainage holes or when water drains too quickly. These signs indicate the plant has outgrown its current container.
| Sign | What to Look For |
|---|---|
| Root Emergence | Visible roots at the pot’s bottom or sides. |
| Water Drainage | Water flows through the soil rapidly, indicating packed roots. |
| Leaf Condition | Leaves may become discolored or droopy due to limited space. |
Identifying Different Snake Plant Varieties
Popular varieties like Dracaena trifasciata ‘Twisted Sister’ and ‘Hahnii’ offer unique growth patterns. Understanding these differences helps tailor care for optimal health.
Each variety may have slightly different care needs, but all benefit from well-draining soil and moderate watering. Observing your plant’s behavior and adjusting care accordingly ensures robust growth and vitality.
Gathering the Essential Tools and Materials
Before diving into the repotting process, it’s crucial to have everything you need within arm’s reach. This ensures a smooth and stress-free experience for both you and your plant.
Selecting the Right Pot and Potting Mix
The pot you choose should be slightly larger than the current one, with drainage holes to prevent waterlogged soil. This helps maintain healthy root conditions. A good potting mix specifically designed for cacti and succulents, mixed with perlite, will enhance drainage and aeration, promoting robust root growth.
Essential Tools for a Smooth Repotting Process
Gather a pair of gloves to protect your hands, a sharp knife or pruning shears for gently trimming old roots, and a new container. These tools make handling the plant easier and reduce stress on the roots during transfer.

A well-prepared workspace is key to a successful repotting experience. Having quality materials ensures your snake plant thrives in its new home.
Step-by-Step Process: How to Repot a Snake Plant
Repotting your snake plant is a straightforward process that ensures it continues to thrive. Start by preparing your work area with fresh potting soil and the necessary tools. Lay your plant on its side to gently remove it from its current pot. This helps prevent damage to the root ball.
Preparing Your Plant and Work Area
Before you begin, gather all your tools and materials. Ensure your new pot has drainage holes to prevent waterlogged soil. Use a well-draining soil mix, such as cactus or succulent potting soil with perlite, to enhance root health. Lay out your tools, like a knife or pruning shears, within easy reach.
Removing, Inspecting, and Transferring the Root Ball
Gently wiggle the plant to free it from its pot. If it’s stubborn, use a knife to carefully loosen the edges. Once removed, inspect the root ball for any damaged tissue. Trim any dead roots with pruning shears to promote healthy growth. Shake off excess soil while retaining as much of the root ball as possible.
Place the plant in the new pot, keeping the soil level consistent. Fill in the sides with fresh potting soil, gently patting it down to secure the plant. Make sure the soil mix fills the pot evenly, leaving enough space at the top for watering.
| Step | Action | Details |
|---|---|---|
| 1 | Prepare Work Area | Gather tools and materials, including fresh potting soil and a new pot with drainage holes. |
| 2 | Remove Plant | Lay the plant on its side and gently remove it from its pot. Use a knife if necessary. |
| 3 | Inspect Root Ball | Check for damaged tissue and trim dead roots with pruning shears. |
| 4 | Transfer Plant | Place the plant in the new pot, keeping the soil level consistent. Fill sides with fresh potting soil and pat down gently. |
By following these steps, your snake plant will have a fresh start in its new home. Remember to handle the root ball with care and use the right soil mix for optimal growth.
Aftercare Tips for a Thriving Houseplant
After repotting, your snake plant needs careful attention to ensure it thrives. Proper watering, light, and fertilization are crucial for its health.
Watering, Light, and Fertilization Guidelines
Place your plant in bright, indirect sunlight to minimize transplant shock. Wait a few days before watering to let the roots adjust. When you do water, ensure the drainage hole is clear to prevent overwatering.
Clay pots offer better drainage but dry out faster, while plastic pots retain moisture longer. Monitor the drainage hole to avoid waterlogged soil. Use diluted liquid organic fertilizer once a month during the growing season for optimal growth.
| Pot Type | Water Retention | Stability |
|---|---|---|
| Clay | Low | High |
| Plastic | High | Medium |
Avoiding Common Repotting Pitfalls
Avoid overwatering and transplant shock by following expert advice. Repot every year to replenish soil nutrients, especially for younger plants. Mature plants may only need repotting every couple of years.
Consistent care each year is vital. Monitor your plant’s response to sunlight and watering frequency to adjust your routine as needed.
Wrapping It Up and Planning Your Next Planting Adventure
Now that you’ve successfully repotted your Sansevieria, it’s time to celebrate your new skill! This process not only gives your plant a fresh start but also enhances your home’s green appeal. Remember, timing is key—repot during the growing season to avoid shocking your plant.
Keep an eye out for signs that your plant needs more space. If roots emerge from the pot’s drainage hole or water drains too quickly, it’s time for a larger pot. For cactus enthusiasts, you’ll find that Sansevieria care shares similarities with other low-maintenance plants, making it easy to integrate into your routine.
Choose the best spot in your home for your plant, ensuring it gets the right amount of light. Consider future projects like propagating pups to expand your plant family. Every repotting experience brings you closer to creating a thriving, beautiful environment at home.