Why Propagate Hydrangeas? The Magic of Free Plants!
Let’s be real – plant shopping can get expensive. Propagating hydrangeas is like discovering a secret garden hack that lets you:
- Multiply your favorite plants for free
- Share beautiful plants with friends and family
- Experiment with growing your own garden babies
When to Take Hydrangea Cuttings: Timing is Everything
Pro Tip: The sweet spot for hydrangea propagation is late spring to early summer. Think May to mid-July – when the plant is bursting with new, flexible growth.
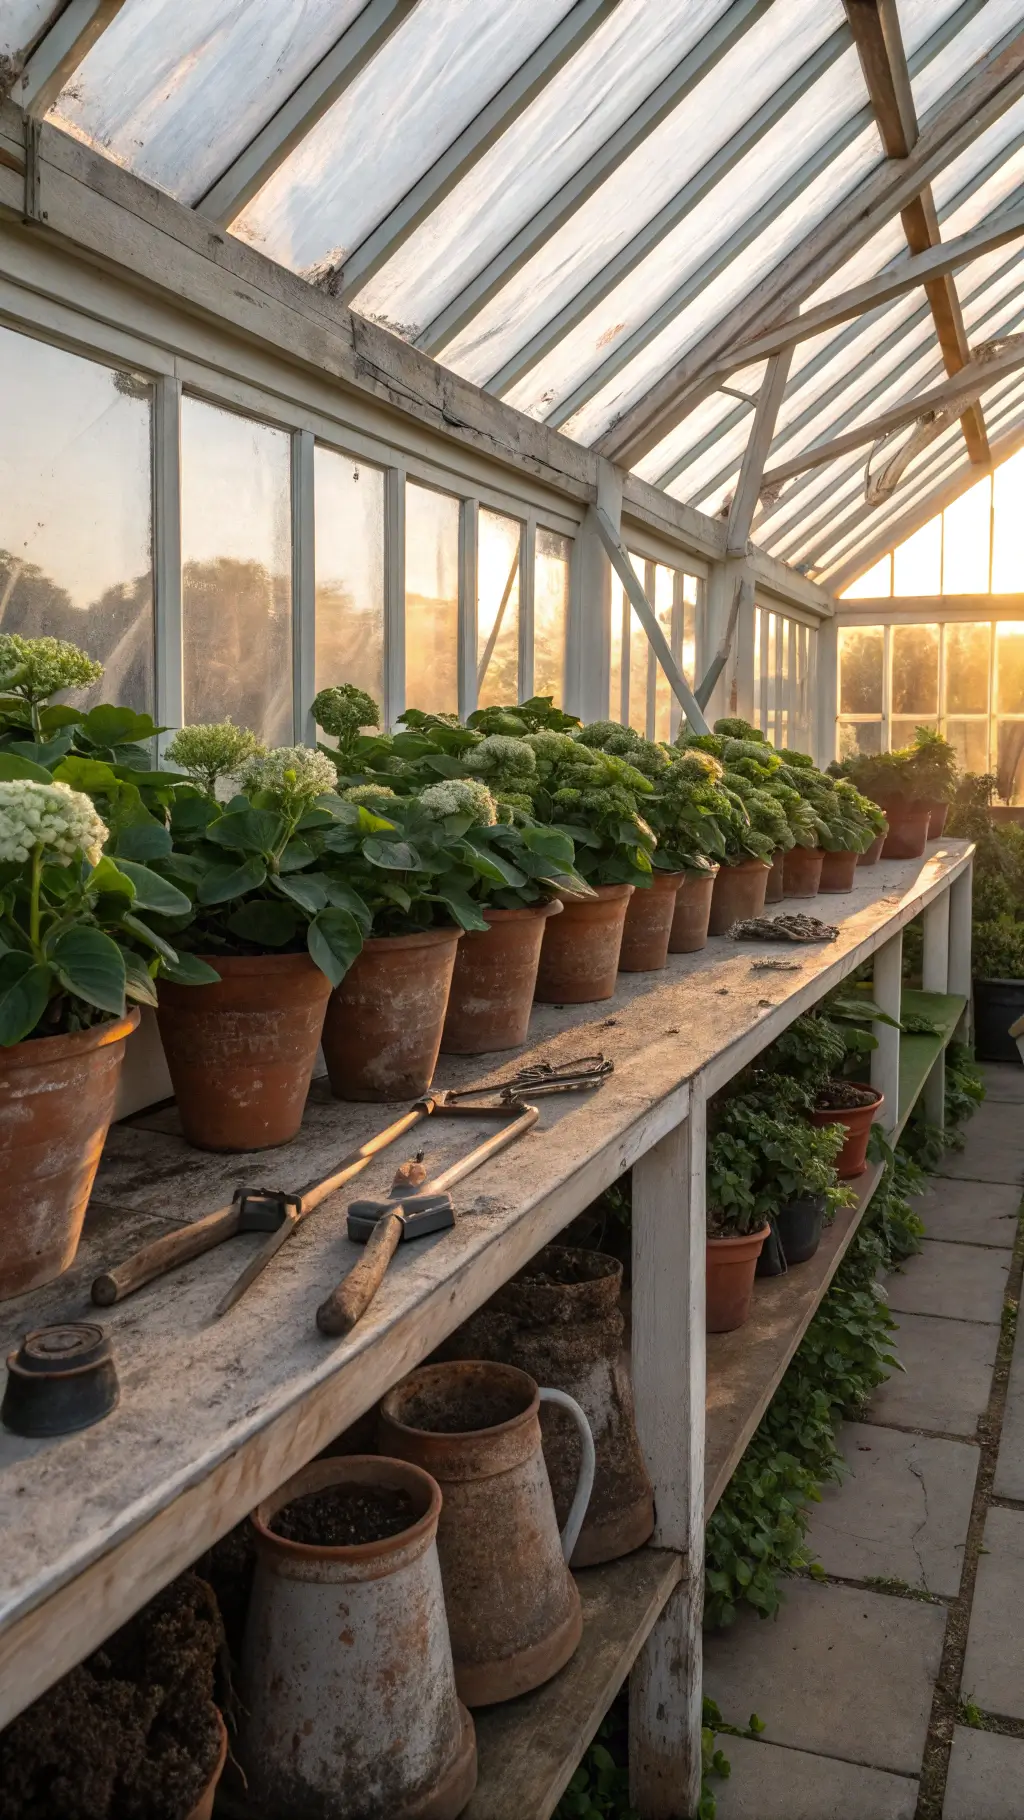
What You’ll Need: Your Propagation Survival Kit
- Sharp pruning shears (like a plant surgeon’s scalpel!)
- Rooting hormone powder
- Well-draining potting mix
- Small pots
- Clear plastic bags
- Spray bottle
- Patience (most important ingredient!)
Step-by-Step Hydrangea Cutting Mastery
1. Choosing the Perfect Cutting
- Hunt for healthy stems with new growth
- Avoid stems with flower buds
- Morning is the best time to take cuttings (plants are most hydrated)
2. The Perfect Cut
Cutting Technique:
- Slice 4-6 inch sections from stem tips
- Cut just below a leaf node
- Remove lower leaves, keeping 2-4 top leaves
- Optional but recommended: Dip cut end in rooting hormone

3. Planting Your Future Hydrangea
Planting Pro Tips:
- Use well-draining potting mix
- Create small holes with a pencil
- Insert cuttings so 1-2 leaf nodes are underground
- Water gently to settle soil
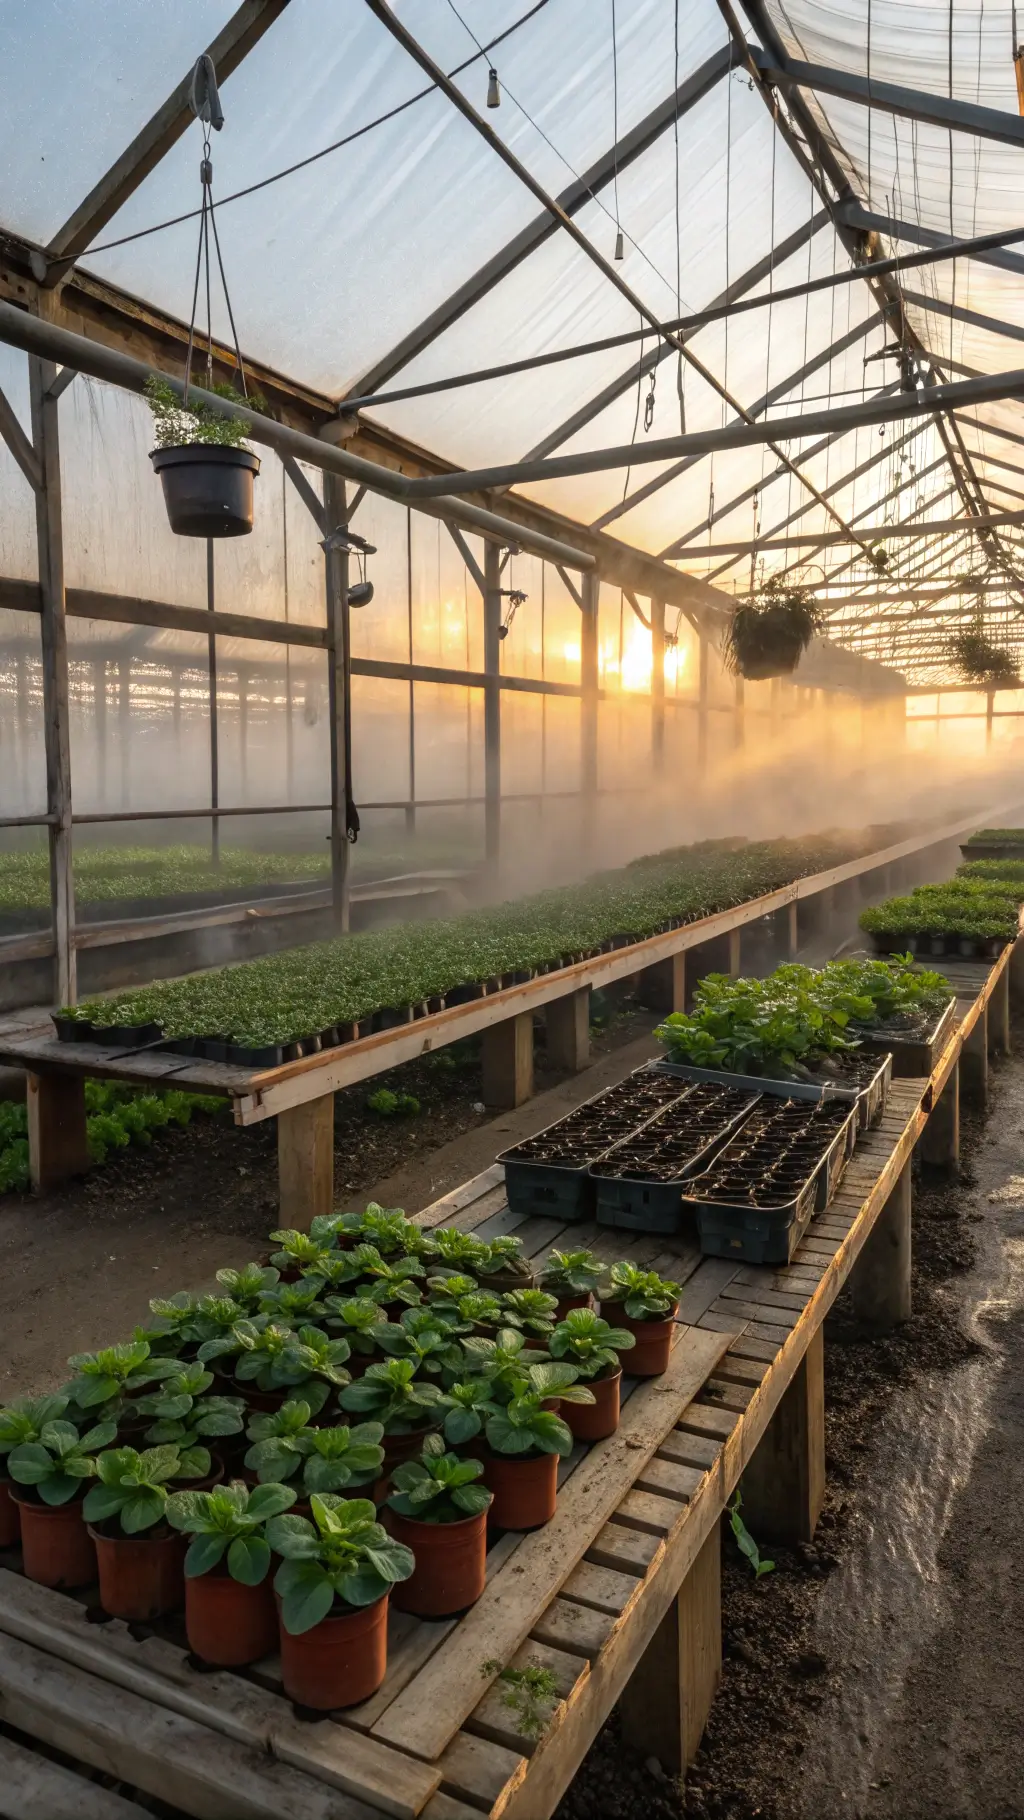
Creating the Ultimate Rooting Environment
The Mini Greenhouse Trick
- Place cuttings in clear plastic bag or container
- Use sticks to keep plastic from touching leaves
- Position in a warm spot with bright, indirect light
- Mist occasionally to maintain humidity
Rooting and Care: The Waiting Game
What to Expect:
- Roots typically develop in 2-4 weeks
- Check root progress by gently tugging cutting
- Maintain consistent moisture
- Open the bag briefly every few days for air circulation
Transplanting Success
- Gradually remove plastic covering over a week
- Transplant when new leaf growth appears
- Move to larger pots or garden

Pro Warnings and Wisdom
- Only propagate unpatented hydrangea varieties
- Not all cuttings will succeed – that’s okay!
- Practice makes perfect
Bonus Tip: Track your success rate. Each failed cutting is a learning opportunity!
Final Thoughts: Your Hydrangea Propagation Journey
Propagating hydrangeas isn’t just gardening – it’s plant magic! With patience and practice, you’ll soon have a garden overflowing with these stunning blooms.
Happy propagating, green thumbs! 🌿🌸