Meet the Philodendron Deja Vu, a stunning addition to any indoor space. I still remember the day I brought mine home—its unique, rounded leaves captivated me instantly. But it wasn’t until I learned the right care techniques that it truly flourished.
Proper watering, light, and soil are the foundation of keeping your Philodendron Deja Vu happy. I discovered that my plant thrives with 0.5 cups of water every 9 days and prefers a spot less than 6 feet from a window. These simple practices made all the difference.
Whether you’re a seasoned gardener or just starting out, this guide will walk you through each step. From understanding growth patterns to maintaining the perfect environment, I’m excited to share how I helped my Philodendron Deja Vu shine. Let’s dive in and give your plant the care it deserves!
Introduction to Your Philodendron Deja Vu
Let me introduce you to the Philodendron Deja Vu, a plant that captivates with its unique charm. Its rounded, heart-shaped leaves bring a touch of natural elegance to any room. However, I’ve noticed that many people worry when they see yellowing leaves, thinking it’s a sign of poor health. In reality, some yellow leaves can be a natural part of the plant’s life cycle.
When mature, the Philodendron Deja Vu typically reaches sizes between 1 to 3 feet tall and wide. This compact growth makes it perfect for indoor spaces. I’ve learned that monitoring the leaves is key to keeping my plant healthy. It’s amazing how much insight you can gain by observing their color and texture.
Common leaf issues often signal the need to adjust your care routine. For instance, overwatering or nutrient deficiencies can cause leaves to turn yellow. By paying attention to these signs, you can make timely adjustments to keep your plant thriving. This section will cover the basics of Philodendron Deja Vu care, helping you understand and address these common challenges.
Understanding Light Requirements and Placement
Light is essential for your plant’s health and growth. Proper sunlight helps with photosynthesis, which keeps the leaves vibrant and the plant thriving.
Choosing the Right Window Spot
I place my plant near a south-facing window, about 5 feet away. This gives it bright, indirect sunlight without direct exposure. Direct sunlight can scorch the leaves, so it’s important to filter it with a sheer curtain if needed.
East- or west-facing windows are also good options. North-facing windows might not provide enough light, so avoid placing your plant there. Consistent light exposure helps maintain healthy growth and prevents the stems from stretching.
| Lighting Type | Distance from Window | Benefits |
|---|---|---|
| Bright, Indirect Sunlight | Less than 6 feet | Promotes vibrant foliage and healthy growth |
| Filtered Sunlight | 5-6 feet | Prevents leaf scorch while maintaining energy for photosynthesis |
| Low Light | More than 6 feet | Can lead to slow growth and less vibrant leaves |
By placing your plant in the right spot and adjusting as needed, you’ll create an ideal environment for it to flourish.
Watering Strategies for a Thriving Philodendron
Watering is a critical part of keeping your plant healthy. I’ve found that the right balance keeps my Philodendron Deja Vu thriving without risking root rot. The key is to water carefully and observe your plant’s responses.
Personalizing Your Watering Schedule
I water my plant with 0.5 cups of water every 9 days. This works well in my environment, but you may need to adjust based on your home’s conditions. Using a water calculator can help tailor the amount to your specific situation, ensuring you don’t overwater.
Avoiding Overwatering and Preventing Root Rot
Overwatering is a common mistake that can lead to root rot. I check the soil moisture by gently digging my finger into the top inch. If it’s dry, it’s time to water. Proper drainage is essential, so make sure your pot has a drainage hole to prevent waterlogged soil.
By following these steps, you’ll keep your plant well-hydrated and safe from root rot, ensuring it stays healthy and vibrant.
Optimal Soil, Drainage, and Fertilizer Practices
Creating the right environment for your plant starts with the soil. The soil mix plays a crucial role in ensuring healthy growth and preventing issues like waterlogging. A well-draining, organic-rich potting mix is essential for your plant to thrive.
Crafting the Best Soil Mix
To craft the ideal soil, I mix organic materials like coco coir with perlite. This combination provides excellent drainage while retaining enough moisture for healthy root development. Coco coir adds organic matter, while perlite ensures the soil doesn’t become too dense. Proper drainage is key to preventing root rot, so I always choose a pot with drainage holes.
Repotting is necessary when the plant’s roots fill the current pot. This usually happens every 1-2 years. When repotting, gently remove the plant and trim any circling roots to encourage healthy growth. This process gives the roots more space to expand, promoting a robust and vibrant plant.
Fertilizing is another important aspect. I use a balanced, water-soluble fertilizer during the growing season. Diluting it to half the recommended strength ensures I don’t overwhelm the roots. This approach provides essential nutrients without causing damage, keeping the plant strong and thriving.
Top Nutrient Tips and Repotting Guidelines
Proper nutrition and timely repotting are vital for your plant’s health and growth. I’ve learned that providing the right nutrients and repotting at the right time can make a significant difference in the vitality of your plant.
Step-by-Step Repotting Tips
Repotting is essential when your plant has outgrown its current container. I repot my plant once a year, typically in the spring when new growth begins. Here’s how I do it:
- Choose a pot that is only 1-2 sizes larger than the current one to avoid excessive moisture in the soil.
- Gently remove the plant from its pot, taking care not to damage the roots.
- Trim any circling roots to encourage healthy growth.
- Place the plant in the new pot, adding fresh potting soil around the roots.
After repotting, I water thoroughly and place the plant in bright, indirect light. This helps the plant adjust to its new environment.
When to Upgrade Your Pot
Your plant will show signs when it needs a larger pot. If you notice roots growing out of the drainage holes or the soil dries out quickly, it’s time to repot. New growth, such as new leaves, is also a good indicator that your plant has outgrown its current container.
One month after repotting, I noticed a significant transformation in my plant. The leaves were more vibrant, and new growth was evident. This experience taught me the importance of providing the right environment for my plant to thrive.
By following these nutrient tips and repotting guidelines, you’ll be able to keep your plant healthy and vibrant. Remember to fertilize during the growing season and repot when necessary to ensure your plant continues to flourish.
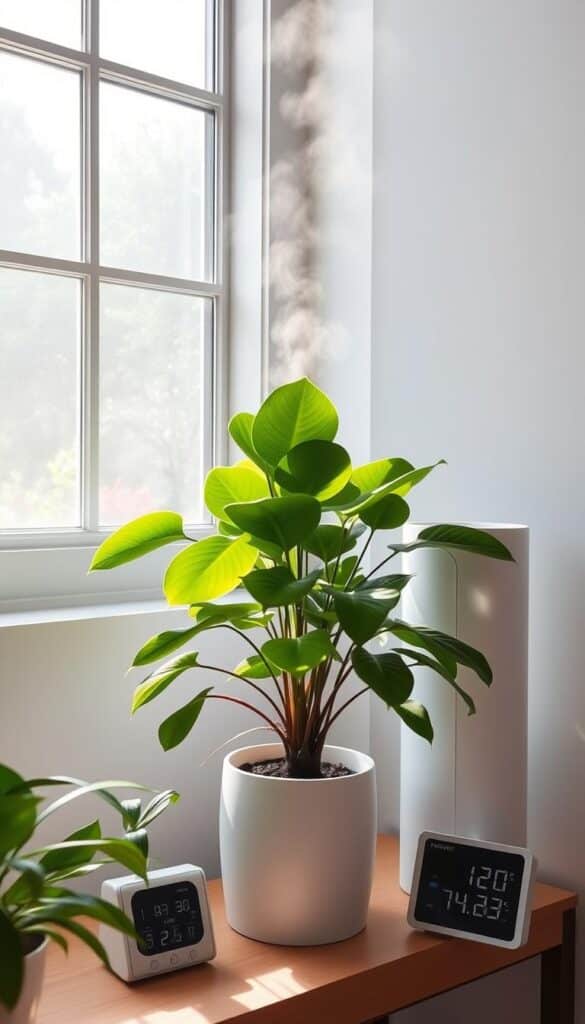
Temperature, Humidity, and Indoor Environment
Creating a stable indoor climate is crucial for the well-being of your plant. I’ve found that maintaining the right temperature and humidity levels creates an environment where my plant thrives.
Setting Ideal Temperature Ranges
The ideal temperature for your plant ranges from 65°F to 80°F. I keep my home within this range during the day, adjusting the thermostat slightly lower at night to promote healthy growth.
Managing Indoor Humidity Levels
Humidity is another key factor. I aim to keep the humidity level around 50-80%. To achieve this, I use a humidifier and place the plant on a pebble tray filled with water.
| Temperature Range | Humidity Level | Benefits |
|---|---|---|
| 65°F – 80°F | 50% – 80% | Promotes healthy growth and vibrant foliage |
| Above 80°F | Below 50% | May cause stress, slowing growth |
| Below 65°F | Above 80% | Can lead to root rot and poor health |
By maintaining these conditions, you’ll create an environment where your plant can flourish, ensuring it stays healthy and vibrant throughout the day.
philodendron deja vu care guide
Keeping your plant healthy and vibrant requires consistent attention. My daily routine includes checking for dust on the foliage and inspecting for any signs of pests. These small steps make a big difference in maintaining its health and appearance.
Daily Care Routine Essentials
- Inspect the foliage daily for dust or pests.
- Water only when the top inch of soil feels dry to the touch.
- Provide bright, indirect sunlight for at least 4-6 hours a day.
Preventing Common Care Mistakes
One of the most common mistakes is overwatering, which can lead to root rot. I avoid this by using a well-draining soil mix and checking the soil moisture before watering. Another mistake is placing the plant in direct sunlight, which can cause the leaves to become discolored.
To maintain a healthy environment, I also check for any signs of toxicity risk. This includes keeping the plant out of reach of pets and children, as the foliage can be toxic if ingested. By following these simple steps, you can keep your plant thriving and ensure a safe environment for everyone.
Propagation Techniques and Growth Cycle
Propagation is an exciting way to share your plant’s beauty and expand your indoor garden. I’ve successfully propagated my plant using stem cuttings and division, and I’m eager to share these methods with you.
Methods: Cuttings and Division
Stem cuttings are a popular method for propagating plants. I look for healthy stems with at least two nodes, as these have a higher chance of successful rooting. Once I cut the stem, I remove lower leaves and plant it in moist soil. Roots typically develop within a few weeks.
Division is another effective method. I gently separate the root clusters when the plant is repotted. This not only creates new plants but also refreshes the existing one. Proper care after division ensures both the new and original plants thrive.
Understanding the Lifecycle and Growth Rate
From seedling to maturity, your plant goes through distinct growth stages. Seedlings develop their first leaves, juveniles grow larger, sub-adults prepare for maturity, and mature plants produce vibrant foliage. The growth rate is moderate, with noticeable changes every few weeks.
| Lifecycle Stage | Growth Phase | Characteristics |
|---|---|---|
| Seedling | 0-3 months | First leaves appear, delicate growth |
| Juvenile | 3-6 months | Leaves expand, stems strengthen |
| Sub-Adult | 6-12 months | Preparing for maturity, noticeable size increase |
| Mature | 1-2+ years | Full size, vibrant foliage, steady growth |
By understanding these stages, you can provide the right conditions for healthy development. Regular propagation and proper care will keep your plant thriving and allow you to enjoy its beauty for years.
Identifying and Troubleshooting Common Problems
Troubleshooting is key to keeping your plant healthy. Over the years, I’ve learned to spot issues early, from watering mishaps to pest invasions. Let’s break down the common problems and how to address them.
Diagnosing Watering and Light Imbalances
Watering issues often show up as yellow or droopy leaves. If leaves turn yellow, it might be overwatering. Check the soil moisture by sticking your finger into the top inch. If it’s dry, it’s time to water. I water mine with 0.5 cups every 9 days, but adjust based on your environment.
Light problems can cause stretched stems or slow growth. Placing your plant near a window with bright, indirect light helps. Avoid direct sunlight to prevent scorched leaves. East- or west-facing windows are ideal, while north-facing may not provide enough light.
Managing Pests and Disease Issues
Pests like spider mites or mealybugs can harm your plant. I check for tiny eggs or white spots on leaves. If I find any, I treat with neem oil. Spray both sides of leaves to ensure coverage. Repeat every week for a month to fully eliminate pests.
Root rot is another issue, often from overwatering. Signs include soft stems or bad smells. To fix, repot with fresh soil, trimming rotting roots. Ensure the pot has drainage holes to prevent waterlogging. Proper drainage is crucial for healthy roots.
Stay vigilant and adapt your care. Consistent checks and quick action will keep your plant thriving. Happy planting!
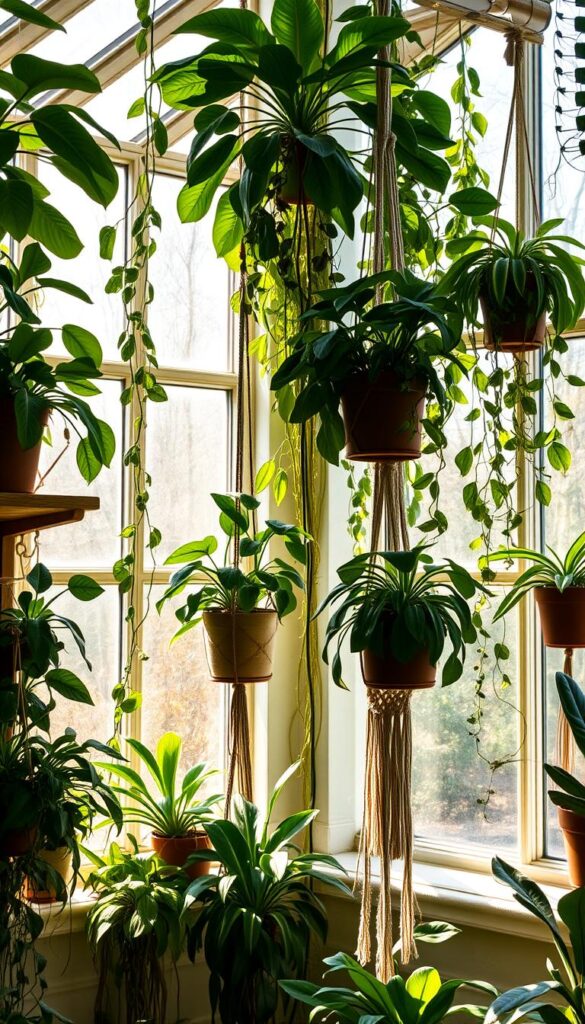
Companion Planting and Enhancing Indoor Ambiance
Enhancing your indoor space with companion plants can elevate the beauty of your Philodendron Deja Vu while creating a harmonious environment. I’ve found that pairing my plant with others that share similar needs not only enhances its appearance but also contributes to a cleaner, healthier atmosphere.
Best Companion Plants for Philodendron Deja Vu
Choosing the right companions can make a significant difference. Plants like Pothos and Peace Lilies are excellent choices, as they thrive in similar light and humidity conditions. These plants also help purify the air, creating a healthier indoor space.
| Companion Plant | Benefits | Growth Habit |
|---|---|---|
| Pothos | Air purification, low maintenance | Trailing, adaptable |
| Peace Lily | Air purification, elegant blooms | Upright, graceful |
| Snake Plant | Low light tolerance, air purification | Upright, robust |
In the spring, I refresh my space by introducing new plants. This seasonal change not only revitalizes the ambiance but also gives my Philodendron Deja Vu a vibrant backdrop to shine. I encourage you to experiment with different combinations to find what works best for your home.
Final Thoughts on Nurturing Your Indoor Philodendron
Reflecting on my journey with this plant, I’ve learned that nurturing it is a journey of observation and adaptation. Monitoring every part of the plant, from the health of its leaves to the condition of its roots, has been crucial.
Over time, I’ve noticed how the leaf color and overall condition guide my care routines. Adjusting light exposure and soil conditions based on these observations has made a significant difference in its health.
Understanding the plant’s bottom, or root zone, and ensuring proper light exposure are subtle yet vital details. These factors play a key role in achieving optimal health and vitality.
As you nurture your own plant, I encourage you to use these insights with confidence. Remember, every plant is unique, and what works for one may not work for another.
Caring for this plant has been a rewarding experience, teaching me something new every day. It’s a journey that requires patience, attention, and a willingness to adapt. Happy planting!