I’ve always had a soft spot for succulents, and echeverias hold a special place in my heart. These stunning plants, with their unique rosette shapes and vibrant colors, have become a staple in my indoor oasis. Over the years, I’ve learned that keeping them happy doesn’t have to be complicated.
My journey with echeverias began with a lot of trial and error. I quickly discovered that well-draining soil and minimal watering are key to preventing root rot. It’s all about balance—too much water can be harmful, while too little might stress the plant. I also found that giving my echeverias four to six hours of direct sunlight each day keeps them vibrant and thriving.
One of my favorite things about these succulents is their decorative appeal. The rosette shape adds a touch of elegance to any room, and the variety of colors makes each plant unique. Plus, keeping water from sitting in the rosette has helped me avoid fungal infections, ensuring my plants stay healthy.
What I love most about succulents is how simple and rewarding it is to care for them. With a few practical tips, anyone can create a thriving environment for their echeverias. It’s a joy to nurture these plants and watch them flourish, bringing life and beauty into my home.
Understanding Your Echeveria: Characteristics and Varieties
Echeverias are some of the most striking succulents you can find. Their unique rosette shapes and vibrant colors make them stand out. But what really sets them apart?
Key Features and Unique Traits
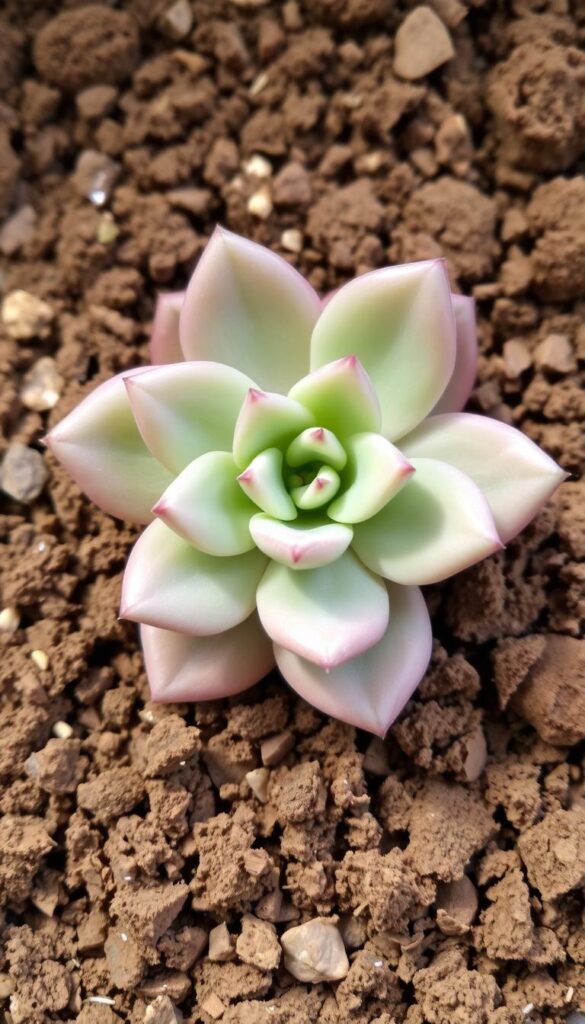
All echeverias share some common traits. They form compact rosettes of thick, fleshy leaves. These leaves come in a wide range of colors, from glaucous blue to soft pink hues. The rosette shape not only looks beautiful but also helps the plant store water, making it drought-tolerant. This feature is perfect for indoor spaces with bright light.
One of my favorite things about these succulents is their ability to change color with the seasons. In the summer, they often develop stunning flower blooms. These small, bell-shaped flowers add an extra layer of beauty to the plant.
Popular Echeveria Species and Their Colors
There are many species to choose from, each with its own unique charm. The Ghost Echeveria, for example, has a powdery, blue-gray appearance. The Mexican Firecracker, on the other hand, boasts bright red and yellow flowers during the summer months. These differences in leaf texture, shape, and growth habits make each species special.
What I love most is how these characteristics influence how I care for them. Understanding their traits helps me place them in the right spot and give them the attention they need to thrive.
Essential Echeveria Watering and Light Requirements
Proper watering and sunlight are crucial for keeping your echeverias healthy and vibrant. I’ve learned that finding the right balance is key to their success.
How Much Water Does My Echeveria Need?
My watering routine is simple: I water my echeverias only when the soil is completely dry. During the growing season, I water every 7-10 days, using about one cup of water. In winter, I cut back to once a month. This prevents root rot and keeps the plant strong.
Using a pot with good drainage is essential. It protects the roots from sitting water, which can lead to rot. I’ve seen this happen when the pot doesn’t drain well, so proper drainage is a must.
Finding the Perfect Sunlight Balance
Echeverias love bright, direct sunlight. I place mine near sunny windows for at least four to six hours of light each day. This keeps their stems healthy and robust.
Natural light helps prevent stretching and keeps the colors vibrant. I adjust their position based on the season to ensure they get enough light without burning.
By following these watering and sunlight tips, my echeverias stay thriving. It’s all about balance and attention to their needs.
Echeveria Soil, Fertilizer, and Temperature Guidelines
Creating the right environment for your echeveria starts with the soil and nutrients it receives. These elements form the foundation of care, ensuring your plant stays healthy and thrives.
Choosing the Right Well-Draining Soil Mix
The soil mix plays a crucial role in maintaining your echeveria’s health. I recommend using a combination of regular potting soil, coarse sand, and perlite. This mix allows for proper drainage and prevents water from pooling around the roots, which can lead to root rot.
My preferred mix is 50% potting soil, 30% coarse sand, and 20% perlite. This blend ensures the soil drains well while retaining enough moisture to keep the plant hydrated without overwatering.
Fertilizing Wisely for Better Growth
Fertilizing is essential for promoting healthy growth, but it should be done with care. During the active growing season, I use a balanced, water-soluble fertilizer that’s diluted to half the recommended strength. This approach provides the necessary nutrients without risking fertilizer burn.
It’s important to avoid over-fertilizing, as this can damage the plant. I apply the fertilizer once a month during the spring and summer months when the plant is actively growing. During the fall and winter, I stop fertilizing altogether to allow the plant to rest.
| Component | Quantity | Benefits |
|---|---|---|
| Potting Soil | 50% | Retains moisture and provides nutrients |
| Coarse Sand | 30% | Improves drainage and prevents waterlogging |
| Perlite | 20% | Enhances drainage and aeration |
By using the right soil mix and fertilizing wisely, you can create an environment that supports the healthy growth of your echeveria. Remember, proper care also includes monitoring soil moisture and adjusting your fertilizing schedule based on the plant’s needs.
Propagation and Pruning Techniques for Echeveria
Propagating and pruning your echeveria can be a fun and rewarding process. It not only helps in maintaining the plant’s appearance but also encourages new growth. Let’s dive into the steps I follow to propagate and prune my echeverias successfully.
Step-by-Step Guide to Propagation
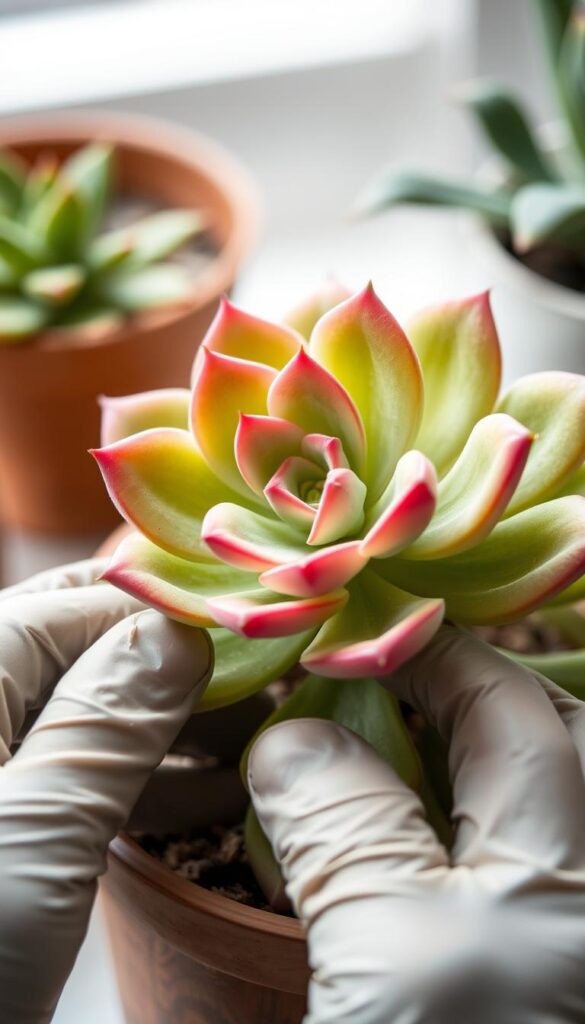
To propagate an echeveria, I start by taking leaf or stem cuttings. For leaf propagation, I gently twist a healthy leaf from the base of the plant. For stem cuttings, I cut a section just above a leaf node using a clean, sharp tool.
Next, I let the cuttings callous over for a few days to prevent rot when planted. Once calloused, I plant them in a well-draining succulent mix. I water sparingly until roots develop, usually within a few weeks.
Pruning for Shape and Health
Pruning is essential to maintain the rosette shape and promote healthy growth. I remove any dead or damaged leaves to prevent pests and diseases. Using clean tools, I trim back leggy stems to encourage a fuller appearance.
Pruning is best done at the start of the growing season. This allows the plant to direct its energy into producing new growth. I also use this time to inspect the plant for any signs of stress or pests.
By following these propagation and pruning techniques, I’ve been able to keep my echeverias looking their best. It’s a simple process that requires a little care and attention to detail.
Managing Pests, Diseases, and Maintenance in Echeveria
While echeverias are resilient plants, they can still face challenges like pests and diseases. Over the years, I’ve learned how to identify and manage these issues to keep my plants thriving.
Identifying and Preventing Common Pests
Like many cacti, echeverias can occasionally attract pests such as fungus gnats, spider mites, and mealybugs. I’ve found that catching these issues early is key. For instance, fungus gnats are often seen flying around the soil, while spider mites leave fine webbing on the leaves. Mealybugs appear as small, white, cottony spots.
To prevent infestations, I use insecticidal soap or neem oil, applying it every week during the growing season. This proactive approach has helped me avoid major pest issues.
Strategies to Avoid Overwatering and Rot
Overwatering is a common mistake that can lead to root and stem rot. I check the soil by sticking my finger into the bottom of the pot up to the knuckle. If the soil feels dry, it’s time to water. I also ensure the pot has good drainage holes to prevent water from pooling.
If I notice soft, mushy stems or black spots, I act quickly. I stop watering, repot the plant in fresh, dry soil, and trim any damaged parts to keep the plant tall and healthy.
| Pest | Signs | Solution |
|---|---|---|
| Fungus Gnats | Small flies around soil | Insecticidal soap |
| Spider Mites | Webbing on leaves | Neem oil treatment |
| Mealybugs | Cottony spots | Isopropyl alcohol |
Regular maintenance is crucial. I clean dead leaves from the bottom of the plant and inspect it weekly for any signs of trouble. This vigilance has allowed me to enjoy tall, vibrant cacti that bring joy to my space.
My Journey and Final Thoughts on Thriving Echeveria Care
Looking back on my journey with these stunning succulents, I’ve learned that their beauty lies in both their resilience and the care they receive. Over the years, I’ve seen how consistent attention to their needs—whether it’s well-draining soil, balanced watering, or proper sunlight—transforms them into vibrant focal points in any room.
One memorable moment was when I noticed my echeverias weren’t thriving as expected. After some research, I realized they needed more direct sunlight. Moving them to a brighter spot made a world of difference, showcasing their native blue hues and lively growth. This small change reminded me of the importance of adapting care practices to each plant’s needs.
For anyone starting their echeveria journey indoors, I encourage experimenting with different placements and care routines. These plants are not just beautiful; they’re also forgiving, making them perfect for both new and experienced growers. As I continue to learn and refine my care techniques, I’m constantly inspired by their ability to bring life and color into my home.
What’s your experience with echeverias? I’d love to hear about your journey and any questions you might have. Together, we can explore the endless possibilities of nurturing these captivating succulents.