
Introduction: Discovering the Art of Philodendron Propagation
I root philodendron cuttings in water because I enjoy watching the white roots emerge. A stem with three leaves and an aerial root usually throws out inch-long roots within two weeks, ready to plant. It’s the most forgiving propagation I’ve tried, which is exactly why beginners love it. Let’s get into the method.
My Journey with Philodendrons
What started as a hobby turned into a full obsession with stem-cutting propagation. Experts recommend a cup of water and bright, indirect light, and it really is that easy to watch. The philodendron bug bites hard — here’s a solid how-to video:
Why Propagation Matters for Houseplant Lovers
Sharing a philodendron transforms a room and gives a struggling plant parent a fresh start. Focus on healthy nodes and clean cuts and anyone can win. A thriving houseplant collection is closer than you think.
Selecting and Preparing Your Philodendron Cutting
Choosing the Perfect Stem Cutting
A good cutting runs 3–6 inches with at least two nodes, those joint-like bumps where roots form. Skip stems showing stress or disease — they simply won’t take. A few top leaves are plenty; remove the lower ones.
Preparing Your Tools and Workspace
Sterilized pruning shears or an X-Acto knife make the cleanest cuts. Wipe tools with rubbing alcohol and work on a clean surface to avoid infection. A 45-degree angle increases surface area for water and root growth. The method comparison:
| Method | Advantages | Considerations |
|---|---|---|
| Water | Easy to monitor roots | Requires frequent water changes |
| Soil | Direct planting | Harder to track progress |
For soil propagation, use a peat-and-perlite mix for drainage and moisture balance. The photo below shows a ready-to-go cutting:
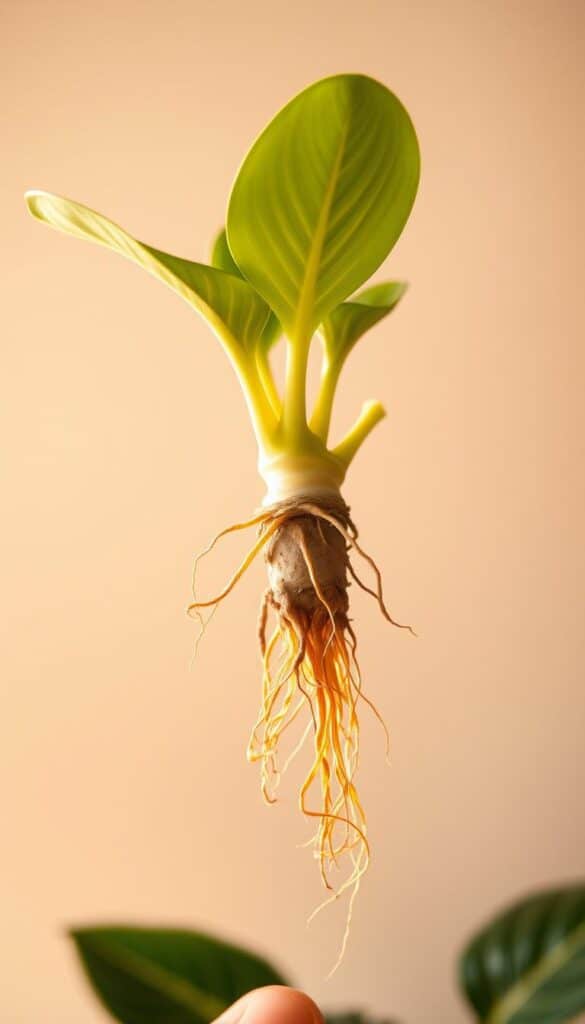
Step-by-Step Guide: How to Root Philodendron
Water Propagation Method
- Place the cutting in fresh water with the node submerged.
- Keep it in bright, indirect light to promote roots.
- Change the water weekly to prevent bacteria.
After 3–4 weeks you’ll see roots; transplant once they hit about an inch. Patience is the only hard part.
Soil Propagation Method
- Prep a pot with well-draining peat-and-perlite mix.
- Plant the cutting with the node covered by soil.
- Firm the soil gently to secure it in place.
Water gently but thoroughly and keep the soil moist, not soggy. Both methods work; pick your favorite.
Essential Care Tips During Propagation
Proper care during this stage decides whether you get a plant or a soggy stick. Keep conditions steady and you’ll be fine. For more on the broader topic, propagation from the anthurium side transfers nicely.
Optimal Light, Temperature, and Humidity
Bright, indirect light is ideal; direct sun overheats the leaves. Hold a steady 75°F and keep humidity around 50–60% with a pebble tray or humidifier. Stable warmth is the unsung hero here.
Maintaining the Right Soil and Water Conditions
Keep potting soil moist but not soggy and use a peat-perlite mix for drainage. In water, change it weekly to dodge bacteria. The image below shows care in action:
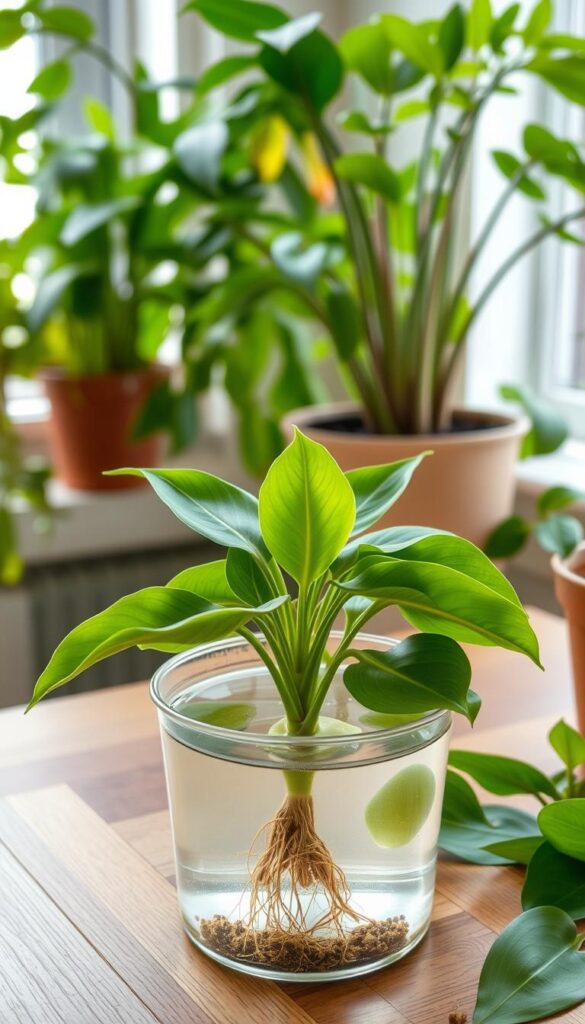
This second video covers a fast, step-by-step rooting method worth a watch:
Troubleshooting Common Propagation Challenges
Identifying and Addressing Root Health Issues
Yellow or droopy leaves often signal overwatering or rot. Cut back on water and improve drainage, and for water props just change the water weekly. Catching it early saves the cutting.
Adjusting Techniques to Enhance Growth
If water roots are slow, move the jar to brighter indirect light. For soil, check the mix stays moist but not soggy, and tug gently after a few weeks to feel for resistance. The troubleshooting table covers the common snags:
| Issue | Symptoms | Solution |
|---|---|---|
| Slow Root Development | Leaves remain small; no visible roots after 4 weeks | Ensure the node is submerged in water or covered in soil; maintain consistent warmth and light |
| Overwatering | Soft, mushy stems; yellowing leaves | Reduce watering frequency; improve drainage; repot with fresh soil if necessary |
| Poor Cutting Quality | Wilting or discolored leaves | Choose a healthy cutting with at least two nodes; remove lower leaves to focus energy on root growth |
Final Steps to a Thriving Philodendron
Once roots are strong, move the plant to fresh, well-draining soil with all nodes covered. Acclimate water-rooted cuttings gradually by adding soil over a few days to avoid shock. For related technique, my notes on propagated plants from the ficus world apply here too.
Conclusion
Root philodendron cuttings in water, moist soil, or sphagnum moss — include a node and an aerial root for the fastest results, and transplant once roots are well developed. Give it a shot; those white roots are weirdly addictive to watch. 🌱