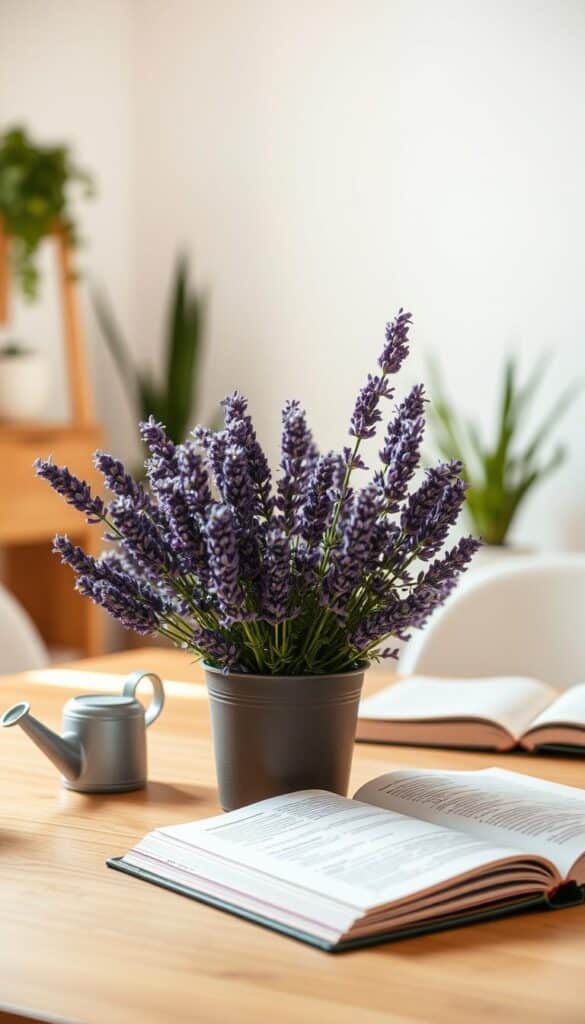
Are you ready to give your lavender plant a fresh start? I remember the first time I repotted my English lavender—it was a game-changer! The vibrant purple blooms and fragrant scent were more robust than ever. Repotting is more than just moving your plant; it’s about giving it the best chance to thrive.
But why is repotting so crucial? Well, over time, lavender can become root-bound, leading to poor growth and fewer flowers. If you notice your plant drying out too quickly or water pooling in the pot, it’s time to act. These signs indicate that your lavender needs a new home with fresh soil and more room to grow.
In this guide, I’ll walk you through everything you need to know. From choosing the perfect pot to selecting the right soil, I’ll share expert tips to ensure your lavender flourishes. Whether you’re a seasoned gardener or a beginner, this guide is here to help you master the art of repotting.
So, let’s get started! By the end of this guide, you’ll be confident in giving your lavender the care it deserves. Let’s dive into the steps and tips that will make your repotting journey a success.
Getting Started with Your Lavender Repotting Journey
Embark on your lavender repotting adventure with confidence! The journey begins with a simple assessment of your plant’s condition. Spring is the ideal time to repot, as your lavender is ready to burst into new growth. Proper watering and a well-balanced potting mix are essential for a healthy start.
Before you begin, ensure your plant is in optimal condition. Check the moisture levels in the soil and give your lavender a light watering a day before repotting. This step helps loosen the soil, making the process easier. Adequate sunlight is crucial, so choose a location that offers plenty of sun—lavender thrives in sunny spots with good drainage.
- Assess your plant’s condition for optimal health.
- Start repotting in the spring for the best results.
- Use a good mix of potting soil for proper drainage.
- Ensure your plant gets enough sunlight and is in a well-ventilated area.
- Check moisture levels before repotting.
- Water lightly a day before repotting to prepare the soil.
By following these steps, you’ll set your lavender up for success. Remember, the right location and care will make your repotting journey a breeze!
Recognizing When Your Lavender Needs Repotting
Knowing when to repot your lavender is crucial for its health and vitality. Over time, your plant may outgrow its container or suffer from poor soil conditions, leading to declining health. Let’s explore the key signs that indicate your lavender needs a new home.
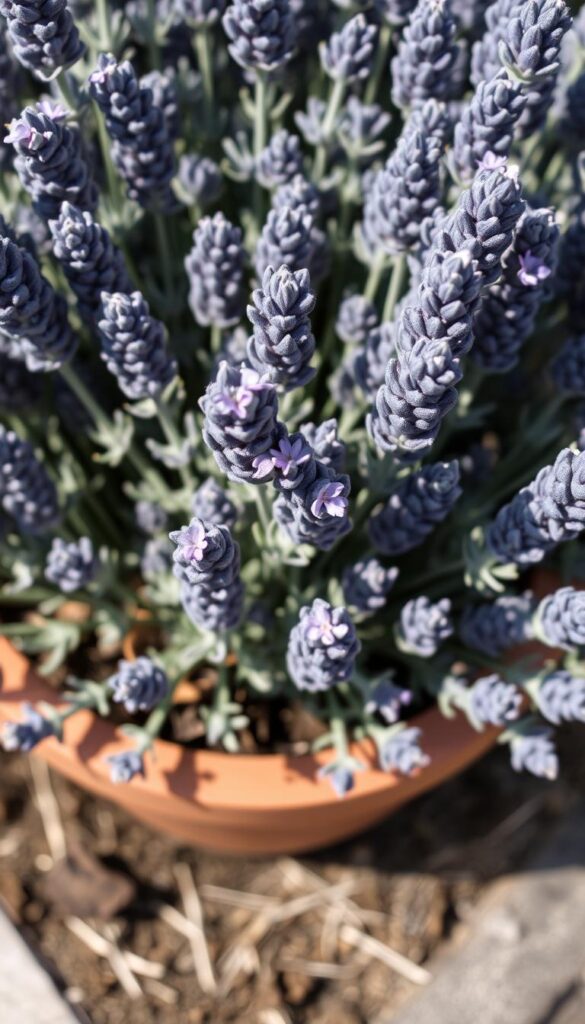
Identifying Root-Bound Conditions
Your lavender becomes root-bound when its roots outgrow the current pot. Check the drainage holes for visible roots—a clear sign it’s time to repot. A root-bound plant may also dry out quickly, indicating the roots need more space to absorb water and nutrients effectively.
Observing Water and Soil Issues
Water and soil issues often signal the need for repotting. If water pools in the pot, it may indicate poor drainage, leading to root rot. Overwatering can cause yellowing leaves and droopy stems. These signs suggest the soil isn’t draining properly, and repotting with fresh, well-draining soil is necessary to prevent root rot and restore health.
By recognizing these signs, you can ensure your lavender gets the care it needs. Timely repotting will help your plant thrive, leading to robust growth and vibrant blooms.
Choosing the Right Time: Seasonal Tips for Repotting Lavender
Timing is everything when it comes to repotting your lavender. Spring is the ideal season for this task, as it allows your plant to adjust and flourish in its new environment. During this time, the weather is mild, and your lavender is emerging from its winter dormancy, making it the perfect moment to give it a fresh start.
Spring as the Ideal Repotting Season
Spring offers the right balance of temperature and growth conditions. Your lavender will have the entire growing season to establish itself in the new pot. Avoid repotting during the winter, as the cooler temperatures can stress the plant and slow down its growth. Similarly, repotting during the flowering period can be disruptive, so it’s best to wait until the plant is actively producing new growth.
Local temperature conditions and seasonal variations also play a role. In areas with harsh winters, spring is especially crucial because it gives your lavender a chance to recover from the cold. Even in milder climates, repotting in the spring ensures your plant has the best opportunity to thrive. Remember, the size and growth expectations post-repotting are directly tied to the timing of the process.
By repotting in the spring, you set your lavender up for a successful year. This season provides the right environment for your plant to adjust, grow, and bloom beautifully. So, plan ahead and make spring your go-to time for giving your lavender a fresh new home.
Selecting the Perfect Pot and Soil for Healthy Lavender
Choosing the right pot and soil is like giving your plant a new home. It’s crucial for healthy growth and vibrant blooms. Let’s explore how to make the best choices for your lavender.
Pot Material Options and Drainage Essentials
Pots come in various materials, each with its pros and cons. Terracotta pots are breathable but can be heavy. Plastic pots are lightweight and retain moisture but may not breathe as well. Ceramic pots offer a good balance. Whatever you choose, ensure it has a drainage hole to prevent waterlogging and root rot.
Crafting an Ideal Soil Mix
The soil mix should be well-draining and aerated. A mix of potting soil, sand, and a bit of compost works well. Sand improves drainage, reducing moisture retention. Add a slow-release fertilizer for long-term nutrition. Avoid using garden soil, as it can compact and hinder drainage.
By selecting the right pot and soil, you set your lavender up for success. Proper drainage and a balanced mix ensure your plant thrives, leading to healthy growth and beautiful blooms.
Step-by-Step Guide to Repotting Your Lavender
Now that we’ve covered the essentials, it’s time to dive into the hands-on process of repotting your lavender plant. This step-by-step guide will walk you through everything you need to know to ensure your plant thrives in its new home.
Preparing and Loosening the Root Ball
The journey begins with preparing your plant. Start by watering your lavender lightly the day before repotting. This step helps soften the soil, making it easier to handle the roots. When you’re ready to repot, gently turn the plant on its side and slide it out of the pot. Take a moment to inspect the root ball.
If the roots appear tangled or circling, use your fingers or a blunt instrument like a chopstick to gently tease them apart. Be careful not to damage any healthy roots. This process helps prevent the plant from becoming root-bound in its new pot.
Transplanting Techniques and Finishing Touches
Place a layer of fresh potting mix at the bottom of the new pot. Then, carefully position the plant, making sure the crown (where the stems meet the roots) is level with the soil surface. Add more potting mix around the roots, gently firming it in place to secure the plant.
Once the plant is in its new home, water thoroughly to settle the soil. Finish with a light sprinkling of worm compost or a slow-release fertilizer to give your lavender a nutrient boost. This final touch will help reduce transplant shock and encourage healthy growth.
| Step | Action | Tips |
|---|---|---|
| 1 | Water the plant a day before repotting | Helps loosen the soil |
| 2 | Gently loosen the root ball | Avoid damaging healthy roots |
| 3 | Transplant into a new pot | Ensure the crown is level with the soil |
| 4 | Add fresh potting mix | Firm gently to secure the plant |
| 5 | Water thoroughly | Settle the soil |
| 6 | Add worm compost or fertilizer | Reduce transplant shock |
By following these steps, you’ll give your lavender the best chance to thrive in its new pot. Remember, patience and gentle handling are key to a successful repotting experience. Your plant will thank you with vibrant growth and beautiful blooms!
Post-Repotting Care: Managing Watering, Sunlight, and Temperature
After repotting, your plant needs extra attention to settle into its new environment. Proper care ensures healthy growth and vibrant blooms.
Establishing a Watering Schedule
Watering is crucial after repotting. Start with once a week and adjust based on soil dryness. Avoid overwatering to prevent root rot.
- Water once a week, adjusting for soil moisture.
- Check soil by inserting a finger up to the knuckle.
- Avoid getting water on leaves or stems to prevent fungal issues.
- Use room-temperature water to prevent shocking roots.
Optimizing Sunlight and Airflow
Ensure your plant gets at least six hours of sunlight daily. Place it near a sunny window or under grow lights. Good airflow prevents fungal diseases.
- Provide 6 hours of direct sunlight or 12 hours of indirect light.
- Keep plants 6-8 inches from grow lights.
- Maintain ambient temperatures between 65-75°F (18-24°C).
- Protect from extreme heat or cold drafts.
- Fertilize once a month with a balanced, water-soluble fertilizer.
- Monitor humidity levels to prevent disease.
Consistent care during the first weeks helps your plant recover and thrive.
Troubleshooting Common Issues in Lavender Repotting
Encountering issues after repotting your lavender? Don’t worry, it’s common! Let’s explore how to diagnose and resolve these problems.
Dealing with Root Rot and Overwatering
Root rot is a common issue that arises from overwatering. If you notice yellowing leaves or soft stems, it’s time to act. Stop watering immediately and inspect the root ball. Remove any rot by trimming with sterile tools. Repot the plant in fresh, well-draining soil to prevent further damage.
Prevent future issues by checking drainage holes and ensuring the soil mix allows excess water to escape. A mix with sand improves drainage, reducing the risk of waterlogged soil.
Recognizing and Easing Transplant Shock
Transplant shock is normal after repotting. Your plant may droop or lose color temporarily. Maintain consistent care, including proper watering and sunlight, to help it recover. Avoid overwatering during this period, as the roots adjust to their new environment.
Monitor your plant closely. If it doesn’t improve within a few weeks, check for root rot or pests. Adjust your care routine as needed to ensure your lavender thrives.
| Issue | Symptoms | Solution |
|---|---|---|
| Root Rot | Yellowing leaves, soft stems | Stop watering, trim rot, repot |
| Overwatering | Water pooling, droopy leaves | Improve drainage, reduce watering |
| Transplant Shock | Wilting, color loss | Maintain care, avoid overwatering |
By addressing these common issues promptly, you can ensure your lavender plant recovers and thrives. Remember, patience is key, and most problems can be resolved with proper care and attention.
Reaping the Rewards: Benefits of a Successful Repotting
After putting in the effort to repot your lavender, it’s exciting to see the positive changes in your plant. A successful repotting can transform your lavender, leading to healthier growth and more vibrant blooms.
Enhanced Growth and Improved Flowering
One of the most noticeable benefits of repotting is the boost in your plant’s growth. With a refreshed root system, your lavender can absorb nutrients more efficiently, leading to stronger stems and greener leaves. This rejuvenation often results in a more robust appearance and improved overall health.
The flowering benefits are equally impressive. A well-executed repotting encourages your lavender to produce more blooms, creating a stunning display of color. Whether you’re growing English lavender or another variety, the results are evident—more flowers and a longer blooming season.
- Healthier growth and stronger stems
- More vibrant and abundant blooms
- Improved nutrient absorption
- Longer flowering period
By choosing the right potting mix and following proper techniques, you set your lavender up for year-round success. This attention to detail ensures your plant thrives, adding beauty and fragrance to your garden for seasons to come.
lavender repotting guide: Expert Tips & Comprehensive Walkthrough
Mastering the art of repotting your lavender plant requires precision and care. Whether you’re dealing with stubborn root systems or adjusting to specific growing zones, these insider tips will help you achieve a flawless transition for your plant.
Insider Insights for Best Results
From my experience, timing is crucial. Repotting during the plant’s active growth phase, typically in the spring, ensures minimal stress. For those in warmer zones, keep an eye on the temperature to avoid shocking the roots.
- Handle root systems gently to prevent damage and promote healthy growth.
- Opt for well-draining potting mixes to enhance soil conditions.
- Consider your specific growing zone to tailor your approach.
- Address common issues like root rot promptly to ensure plant health.
| Zone | Best Practices | Timing |
|---|---|---|
| Warm Zones | Ensure good airflow, use light potting mixes | Early spring to early summer |
| Cool Zones | Protect from frost, use slightly heavier soil | Late spring after last frost |
| Temperate Zones | Maintain consistent moisture, balanced potting mix | Mid to late spring |
By following these expert tips, you’ll optimize your repotting process, ensuring your lavender plant thrives in its new environment. Remember, consistent care and attention to detail are key to a successful transformation.
Maintaining Your Repotted Lavender for Long-Term Growth
Now that your lavender is comfortably settled in its new pot, it’s time to focus on maintaining its health and beauty for years to come. Regular care is essential to keep your plant thriving and looking its best.
Pruning and Fertilization Guidelines
Pruning is a key part of lavender maintenance. I recommend pruning your plant after it finishes blooming to encourage new growth and prevent woody stems. Use clean, sharp tools to shape the plant and remove any dead or damaged portions. This practice helps maintain airflow and promotes healthy growth.
Fertilization should be minimal but effective. Feed your lavender with a balanced, water-soluble fertilizer during the growing season (spring and summer). Dilute the fertilizer to half the recommended strength to avoid burning the roots. Over-fertilizing can lead to leggy growth and fewer blooms, so moderation is key.
Establishing a Regular Maintenance Routine
A consistent care routine will help your lavender thrive. Check the soil moisture regularly, especially during hot or dry weather. Stick your finger into the soil up to the knuckle; if it feels dry, it’s time to water. Ensure the pot drains well to prevent root rot.
Monitor your plant’s appearance daily. Look for signs of stress, such as yellowing leaves or pests. Adjust your watering and fertilization schedule as needed. In cooler months, reduce watering to once every 4-6 weeks, as lavender is dormant and requires less moisture.
Consistency is crucial in daily or weekly care routines. By following these practices, your lavender will remain healthy and vibrant, providing beautiful blooms for years to come.
| Task | Frequency | Tips |
|---|---|---|
| Pruning | After blooming | Use sharp, clean tools; remove dead portions |
| Fertilization | Spring and summer | Use balanced, water-soluble fertilizer at half strength |
| Soil Check | Daily | Test moisture by inserting finger up to knuckle |
| Pest Monitoring | Daily | Inspect for signs of pests; treat promptly if necessary |
Wrapping Up Your Lavender Transformation Journey
As you complete your lavender repotting journey, take a moment to appreciate the transformation your plant has undergone. Proper timing, careful watering, and attentive maintenance are key to ensuring your lavender thrives in its new home.
Remember, the journey doesn’t end here. Consistent care, especially during the winter months, will keep your plant healthy and vibrant. Monitor temperature and moisture levels closely, addressing any issues before they escalate. A well-cared-for lavender plant is a celebration of growth and beauty every day.
By following these steps and staying vigilant, you can prevent common issues like rot and encourage your lavender to bloom spectacularly for years to come. Small adjustments now can make a big difference in your plant’s long-term health and vitality.